Quick Links
Within the Shadow Lands of Baldur's Gate 3, many secrets await to be explored and uncovered. Some, more than others, will require you to go the extra mile. For those who are ambitious and for those who really love a duck-loving druid, you'll want to uncover the mystery of Art Callugh.
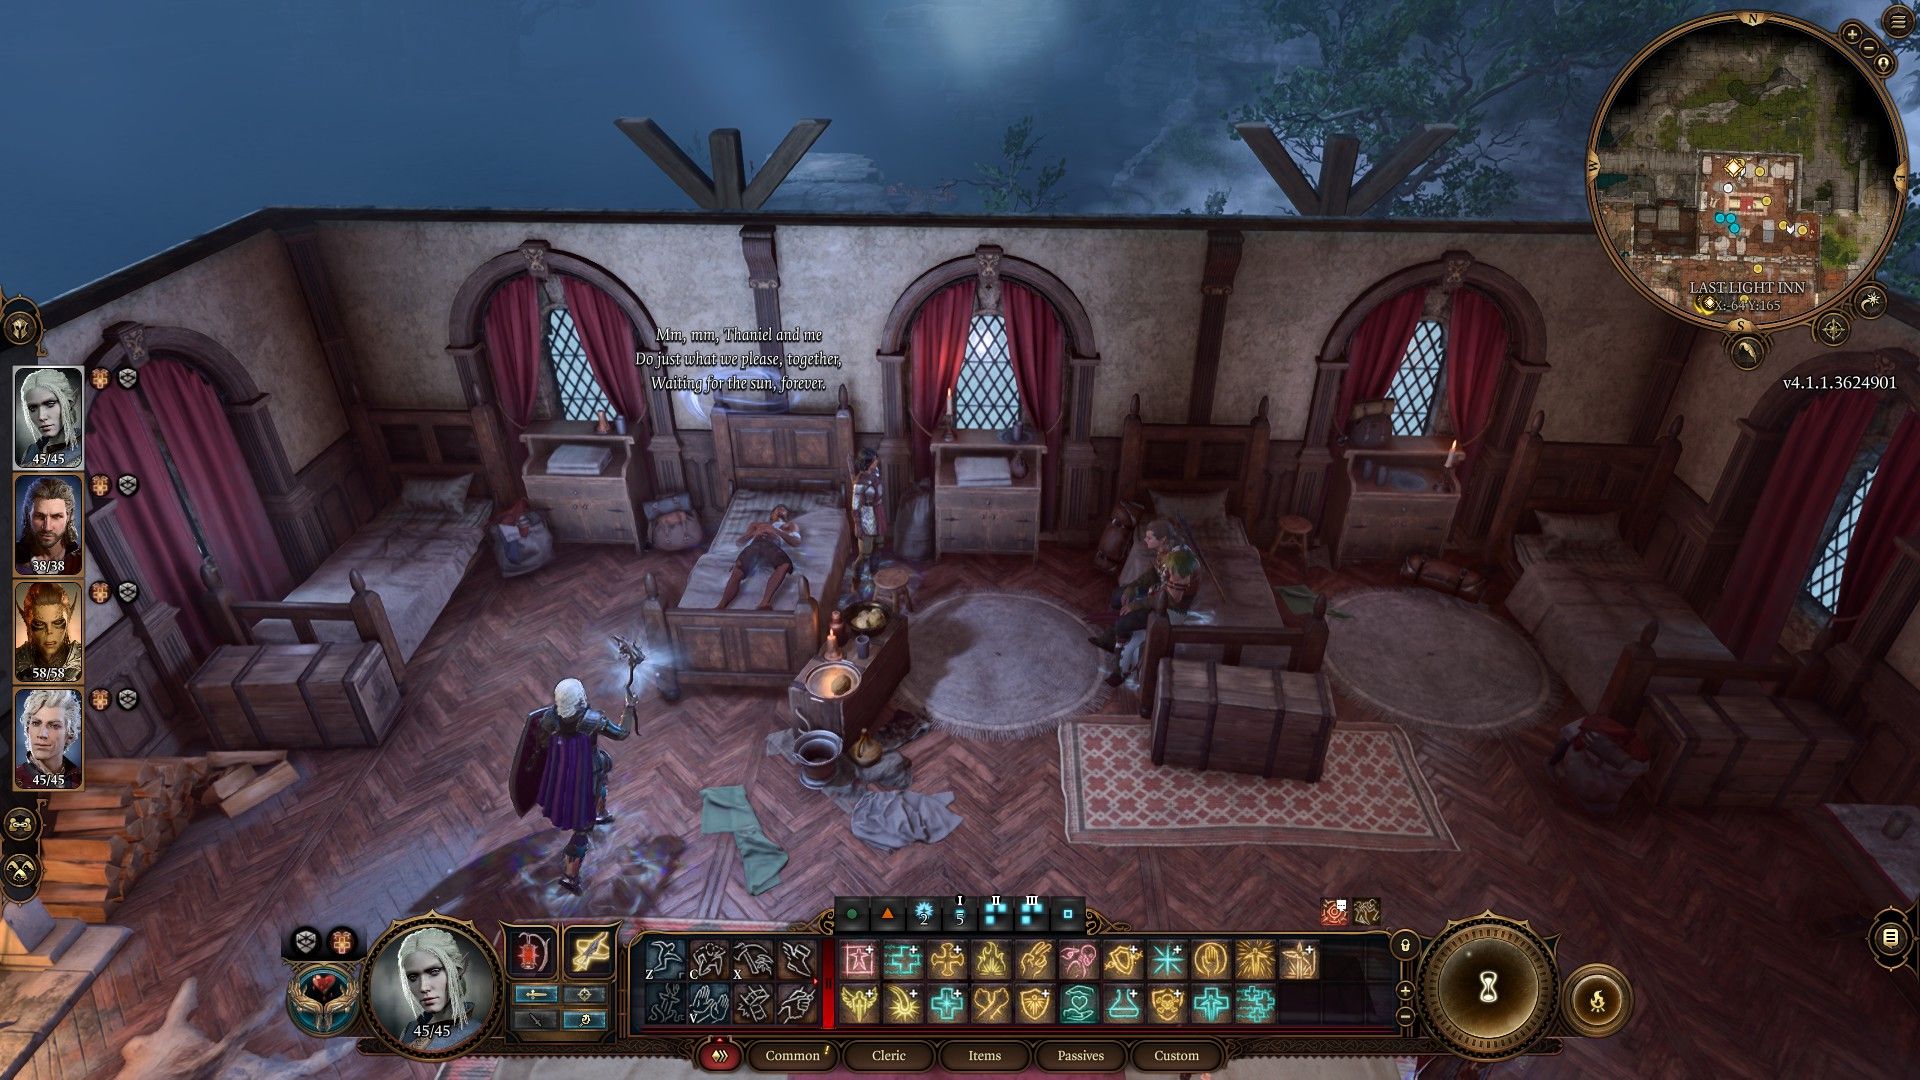
Resting within the Harper haven of Last Light Inn, you can find this holder-of-secrets in a comatose state. He mutters something, beckoning your curiosity, and before you know it, you'll be up to your knees in one of the darkest storylines and coolest boss battles of Baldur's Gate 3.
How To Begin The Art Callugh Quest
From the main entrance of the Last Light Inn, go through the first door on your right to enter an area with a fireplace, a long table, and several beds. Art Callugh is the only patient in the beds.
Speak with him and the woman sitting next to him to hear him speak of Thaniel. Use Medicine and Arcana checks (both DC 15) to determine that Art Callugh needs something familiar of his. You're given a letter that points you in the direction of the "House of Healing."
Before you begin heading there, however, speak with Counsellor Florrick to advance her related questline and then return to your camp to speak with Halsin.
Tell Halsin you heard of a Flaming Fist muttering about a boy named Thaniel - sometimes only triggered after talking about Ketheric Thorm. His interest will be piqued, and you'll need to follow him back to the Last Light Inn, where he's now sitting beside Art Callugh.
Speak with Halsin a bit, and he'll tell you nothing you didn't already know yet, but this will set up for the end of this quest when you return from your journey to the House of Healing.
To do the rest of this quest, you will need the Moonlantern.
How To Find The House Of Healing
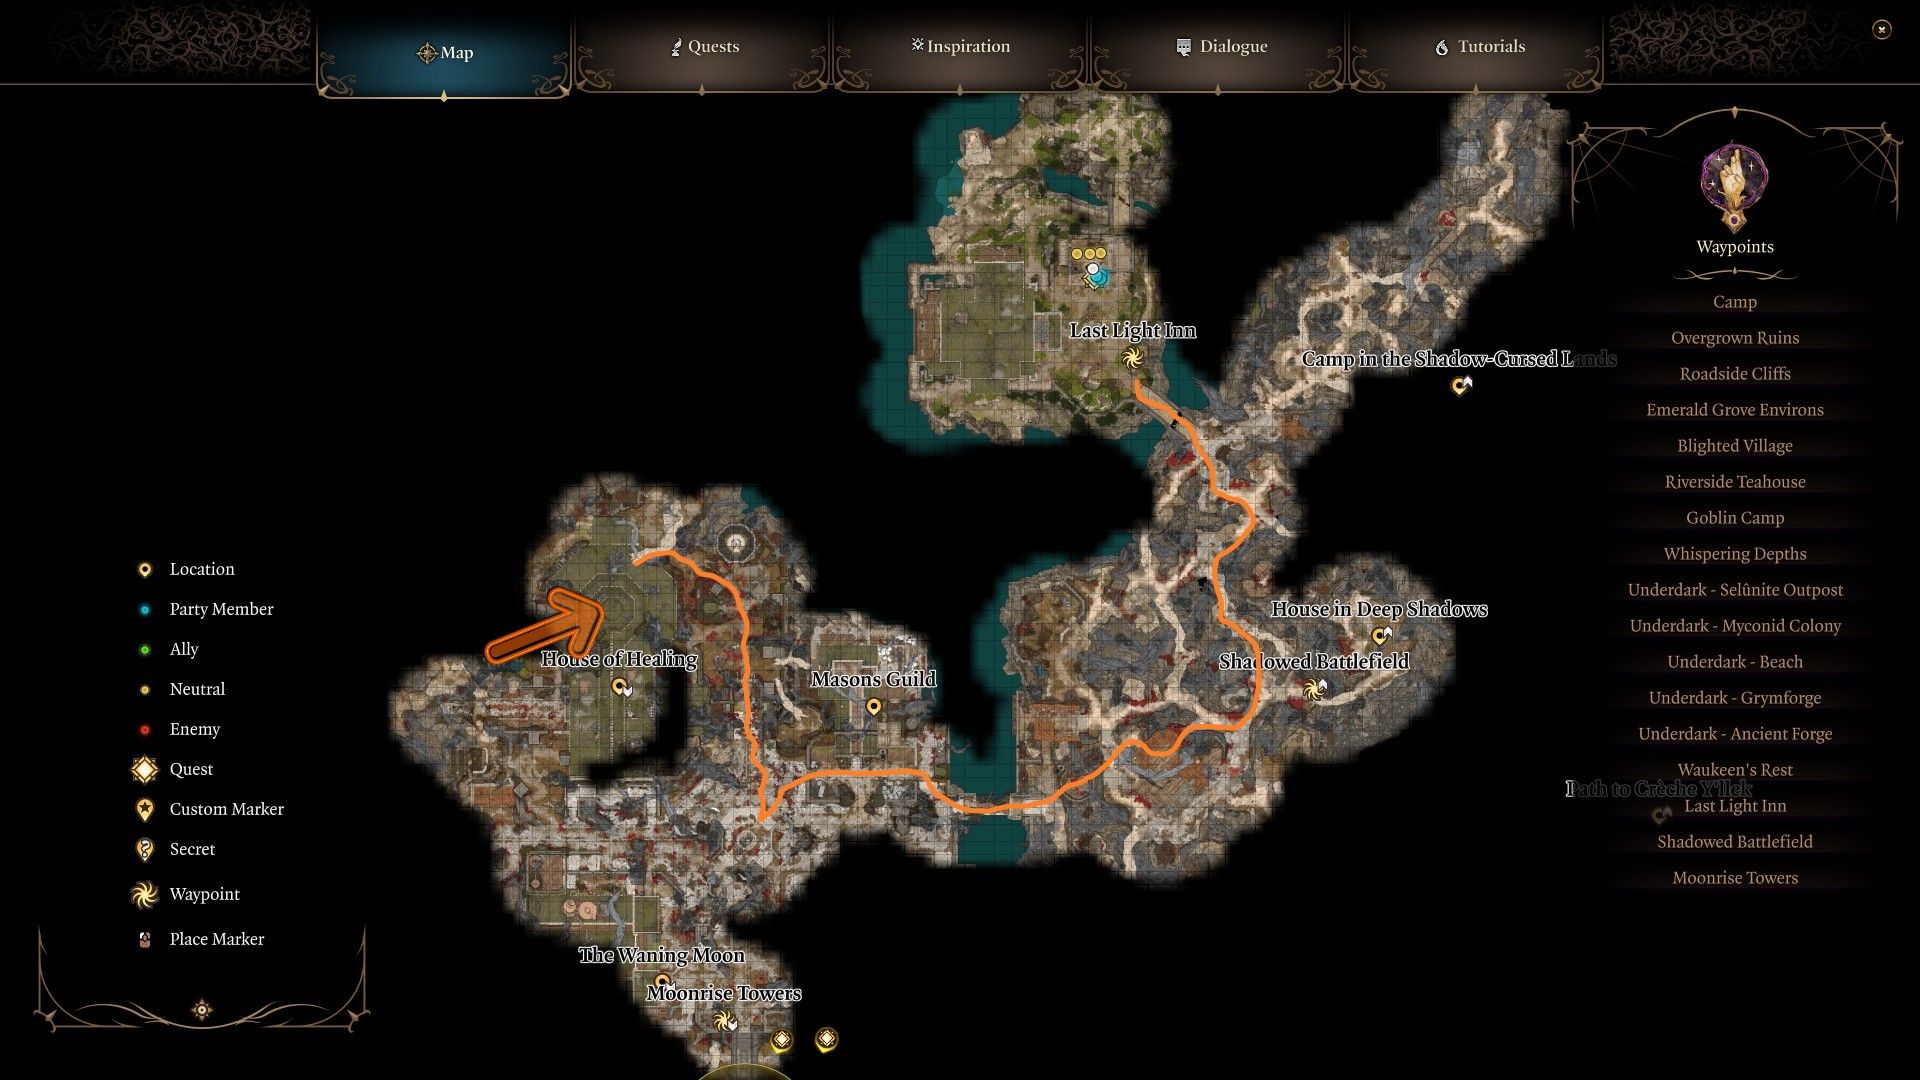
Unfortunately, getting to the House of Healing is a very long and arduous trek, requiring you to fill out the majority of the Shadowlands map as the waterfront cuts off any direction roads and requires you to go all the way around.
To begin, start from the area where you had the ambush to get the Moonlantern. From here, travel northwest to reach the Rethiwin Mason's Guild.
You can explore this area for a few nice magical items and an Infernal Metal, an item required for Karlach's questline.
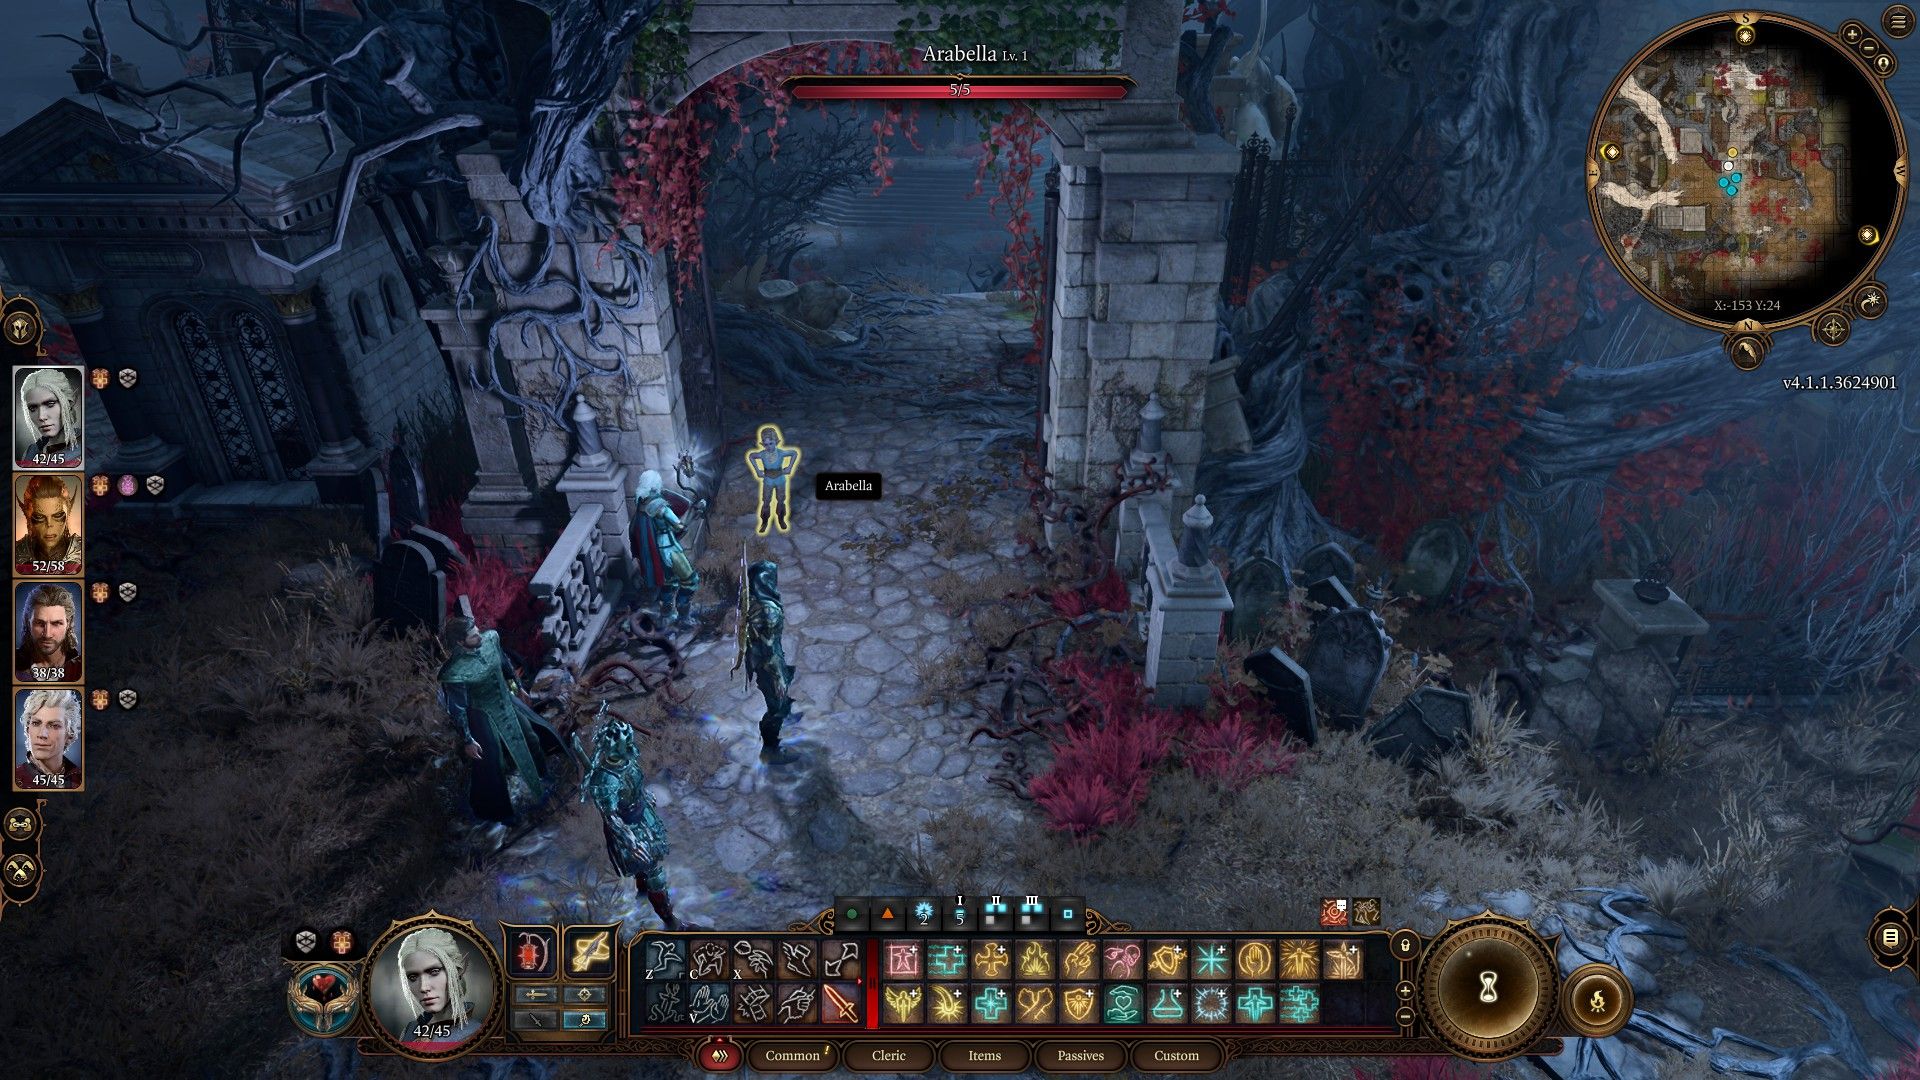
Going through the guild area, past the Wooden Hatch and the elevator crane, you'll reach an area with heavy brush and a large iron gate. Behind that gate is Arabella.
You can choose to accept or deny her special request. Either way, carry on past her and into a large area with a stone mausoleum in the center.
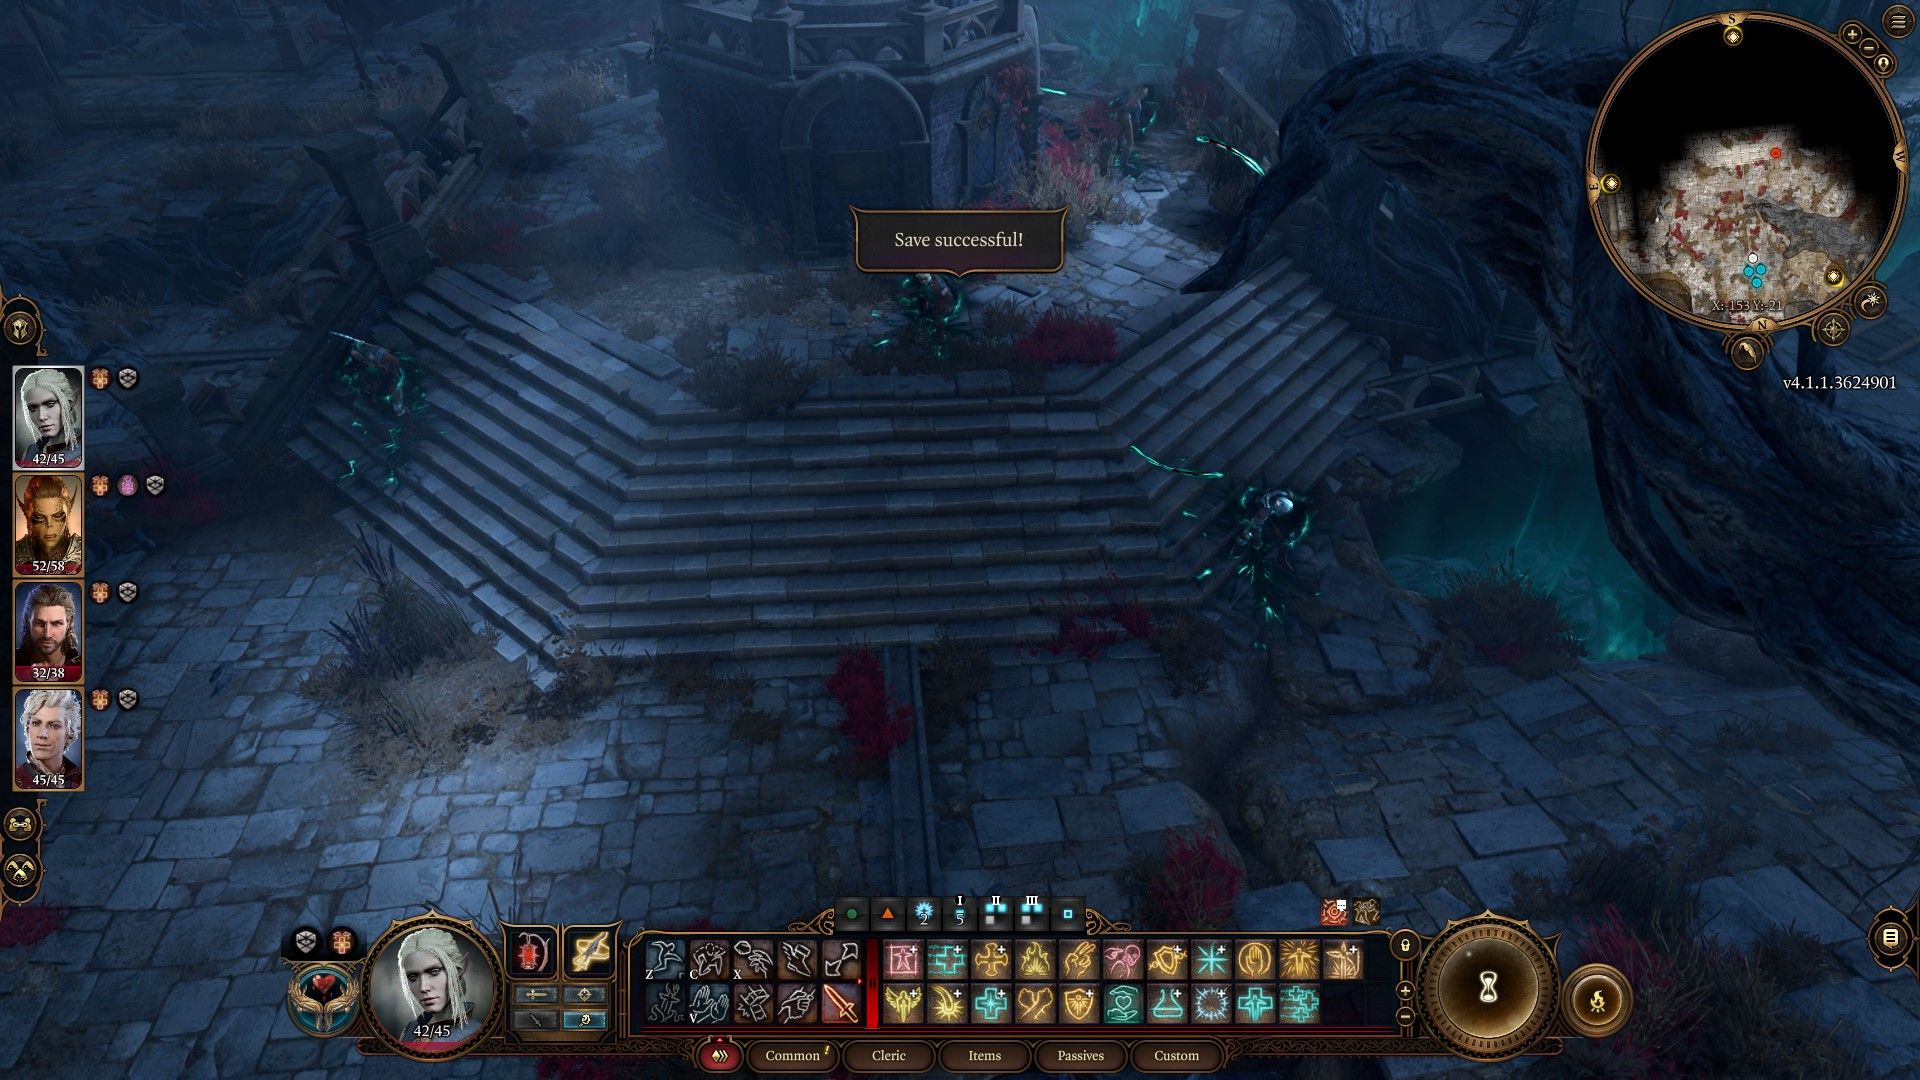
The mausoleum is guarded by several Shadows and three Shadow-Cursed Harpers. You'll need to use your Moonlantern or a similar bright light (if you chose to free the PIxie) to reveal the Shadows.
Once you defeat the Shadows here, turn right and head north through gates into a grove-like cemetery area. An indication you're in the right place is a rolled Passive Perception that illuminates a skeleton with a special ring.
The mausoleum is worth investigating, using the plaques to enter. Inside is a special Sharran Sanctuary where you can safely rest and explore without combat.
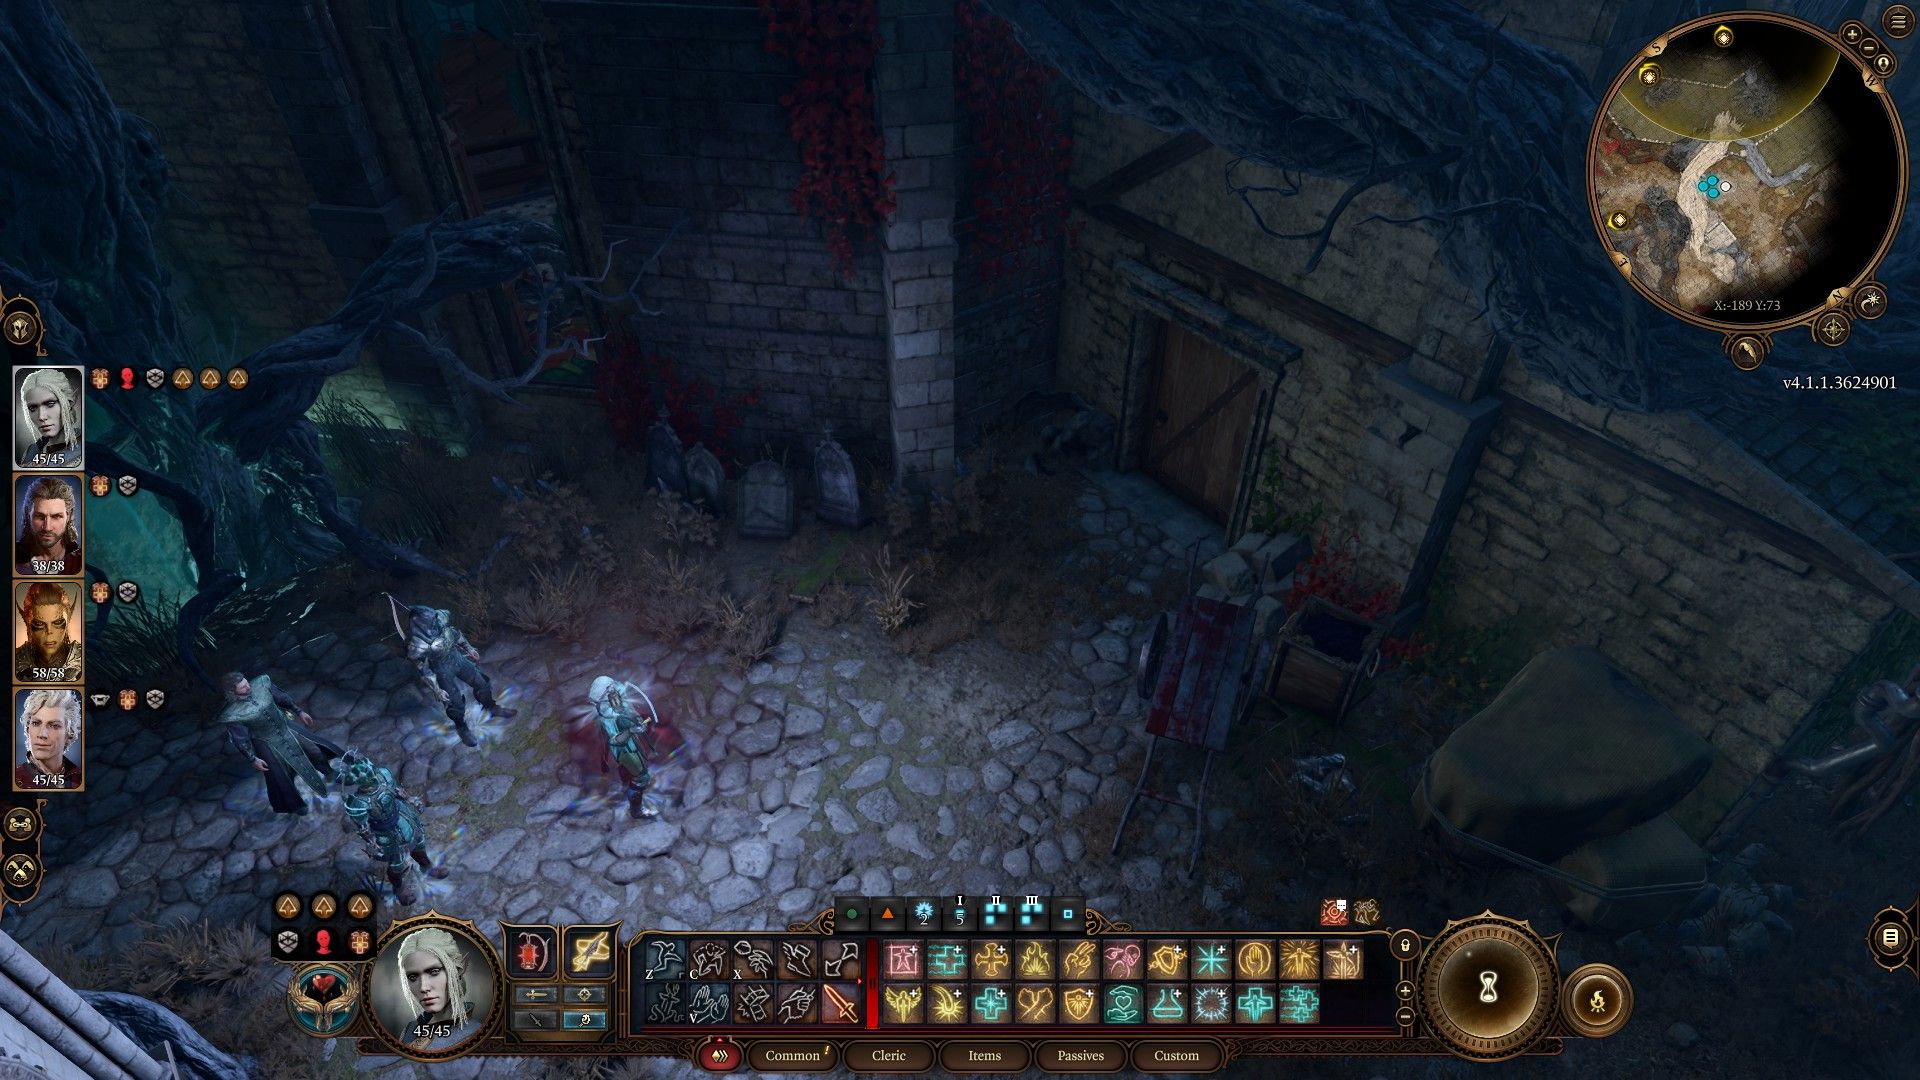
Continue along the main, cobbled path in this direction until you reach the side of a building and, eventually, a locked wooden door (Coordinates: X: 189, Y: 73).
Pick the door and enter to finally find the House of Healing. Your destination is through the large wooden doors in the room and to your left.
There are several other ways inside the House of Healing. However, this method is the most efficient and safest as the front door and general entrance of the House of Healing is guarded by several enemies, wearing you down before you ever reach the boss.
How To Defeat Malus Thorm
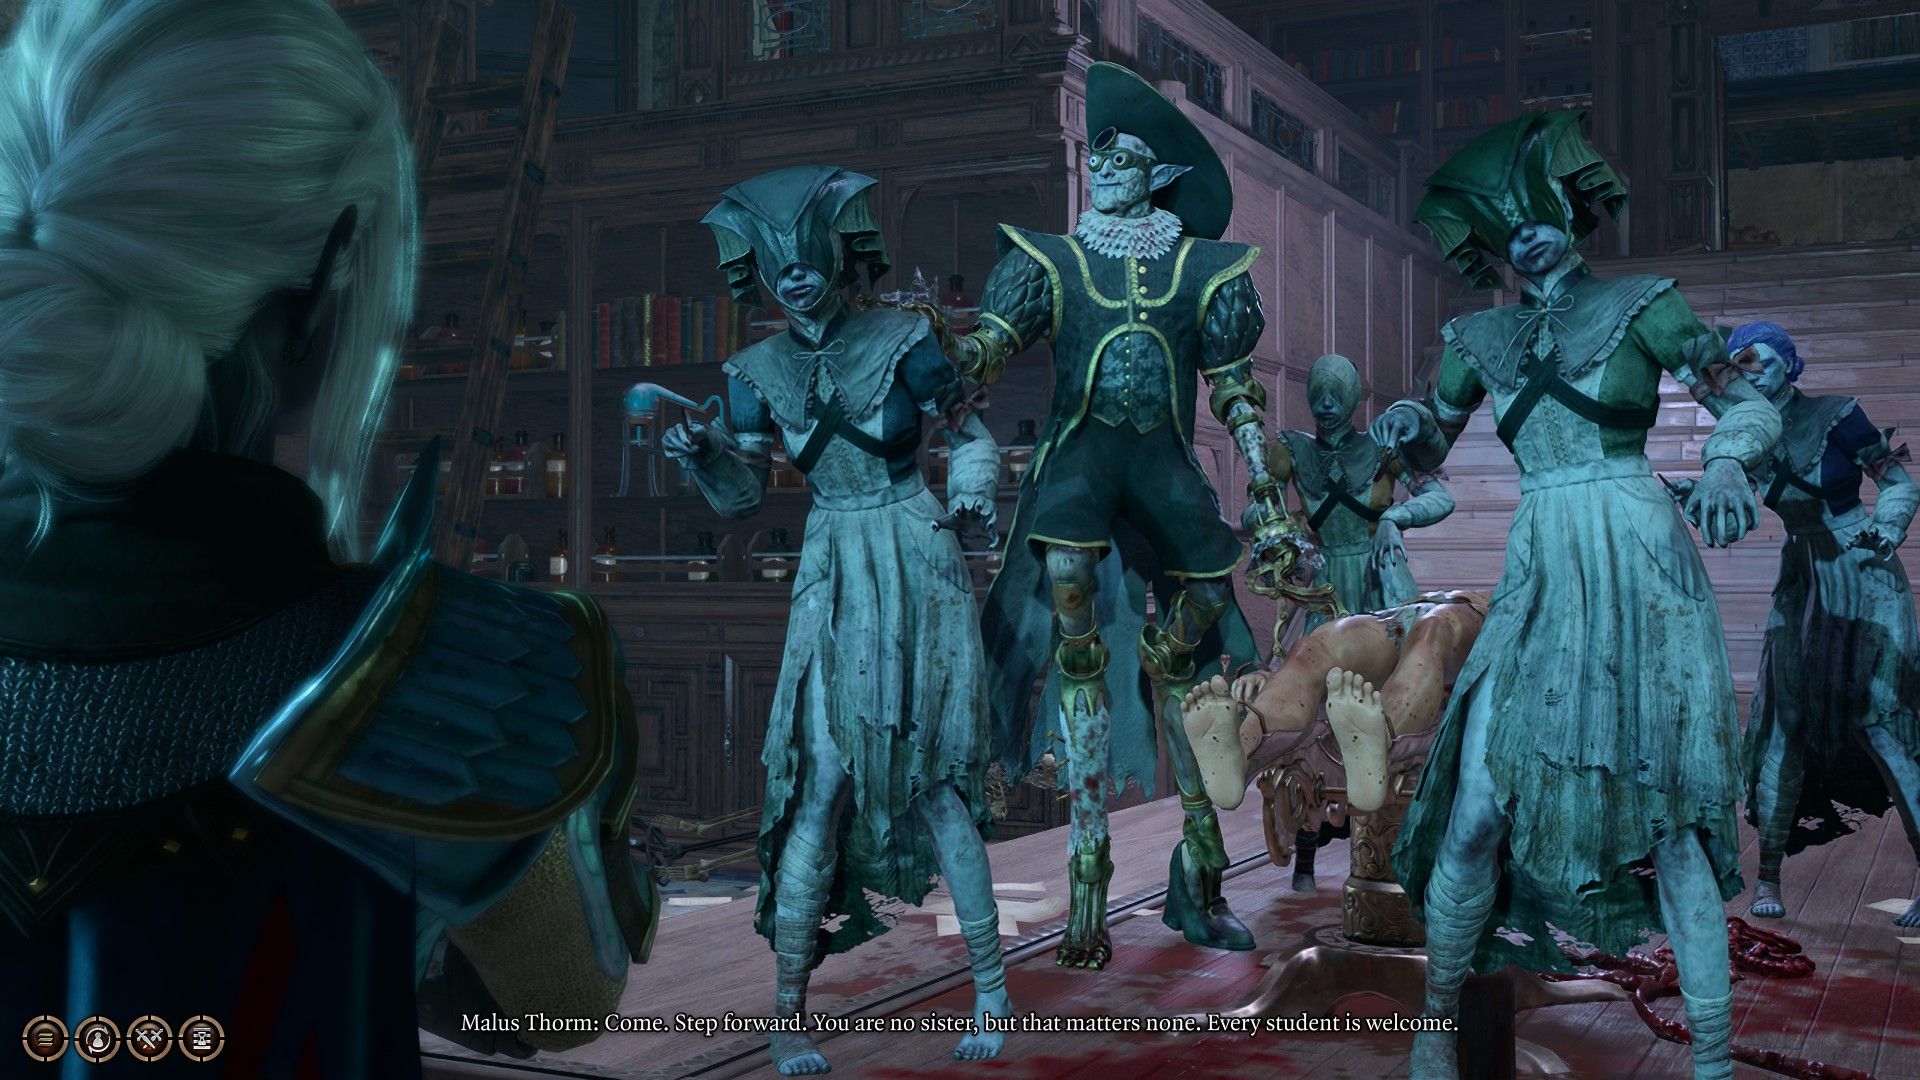
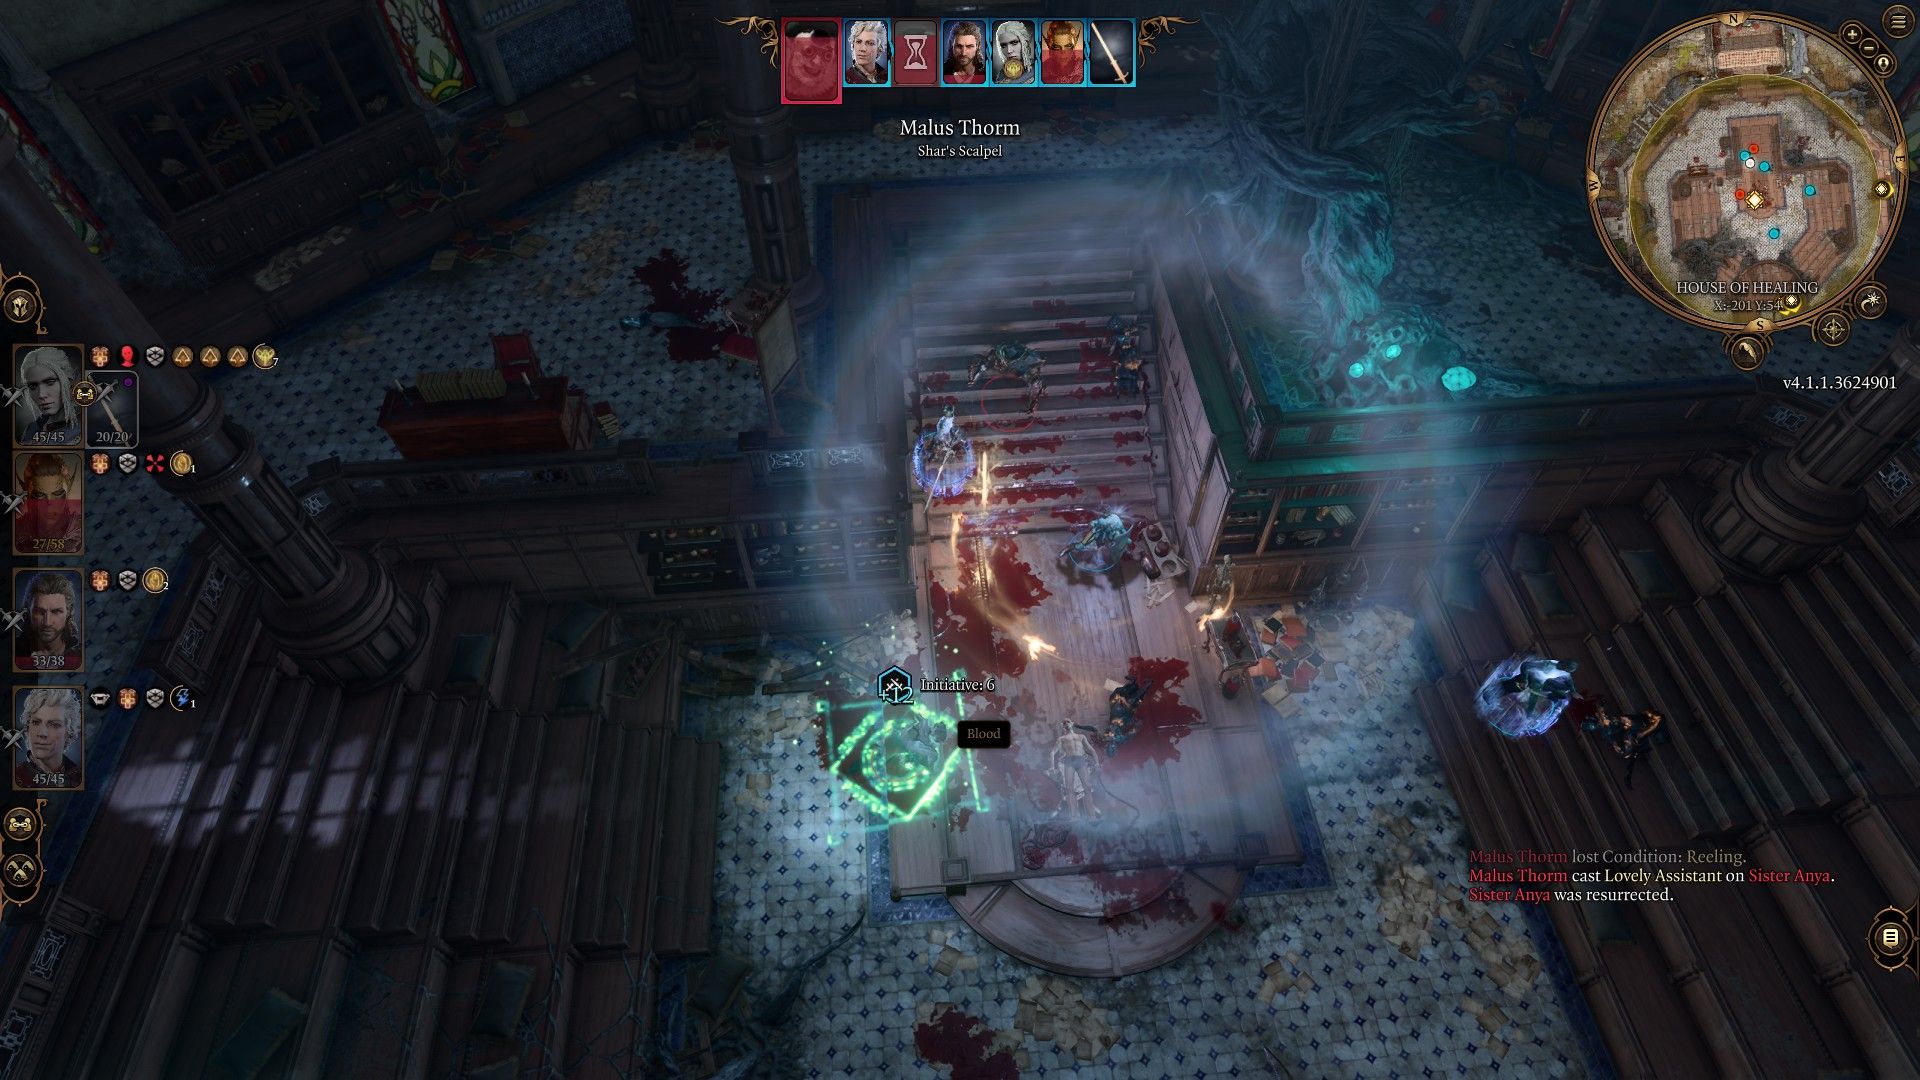
For those who have primarily followed the main story path up to this point, Malus Thorm will be the most difficult boss you have faced thus far in Baldur's Gate 3. The danger he poses is in the raw damage and possible effects he deals in a single turn.
An unlucky turn may result in him dealing as much as 85 damage in a single attack, possibly one-shot-killing a party member. The trick to this fight is not necessarily dealing with Malus Thorn but actually his assistants.
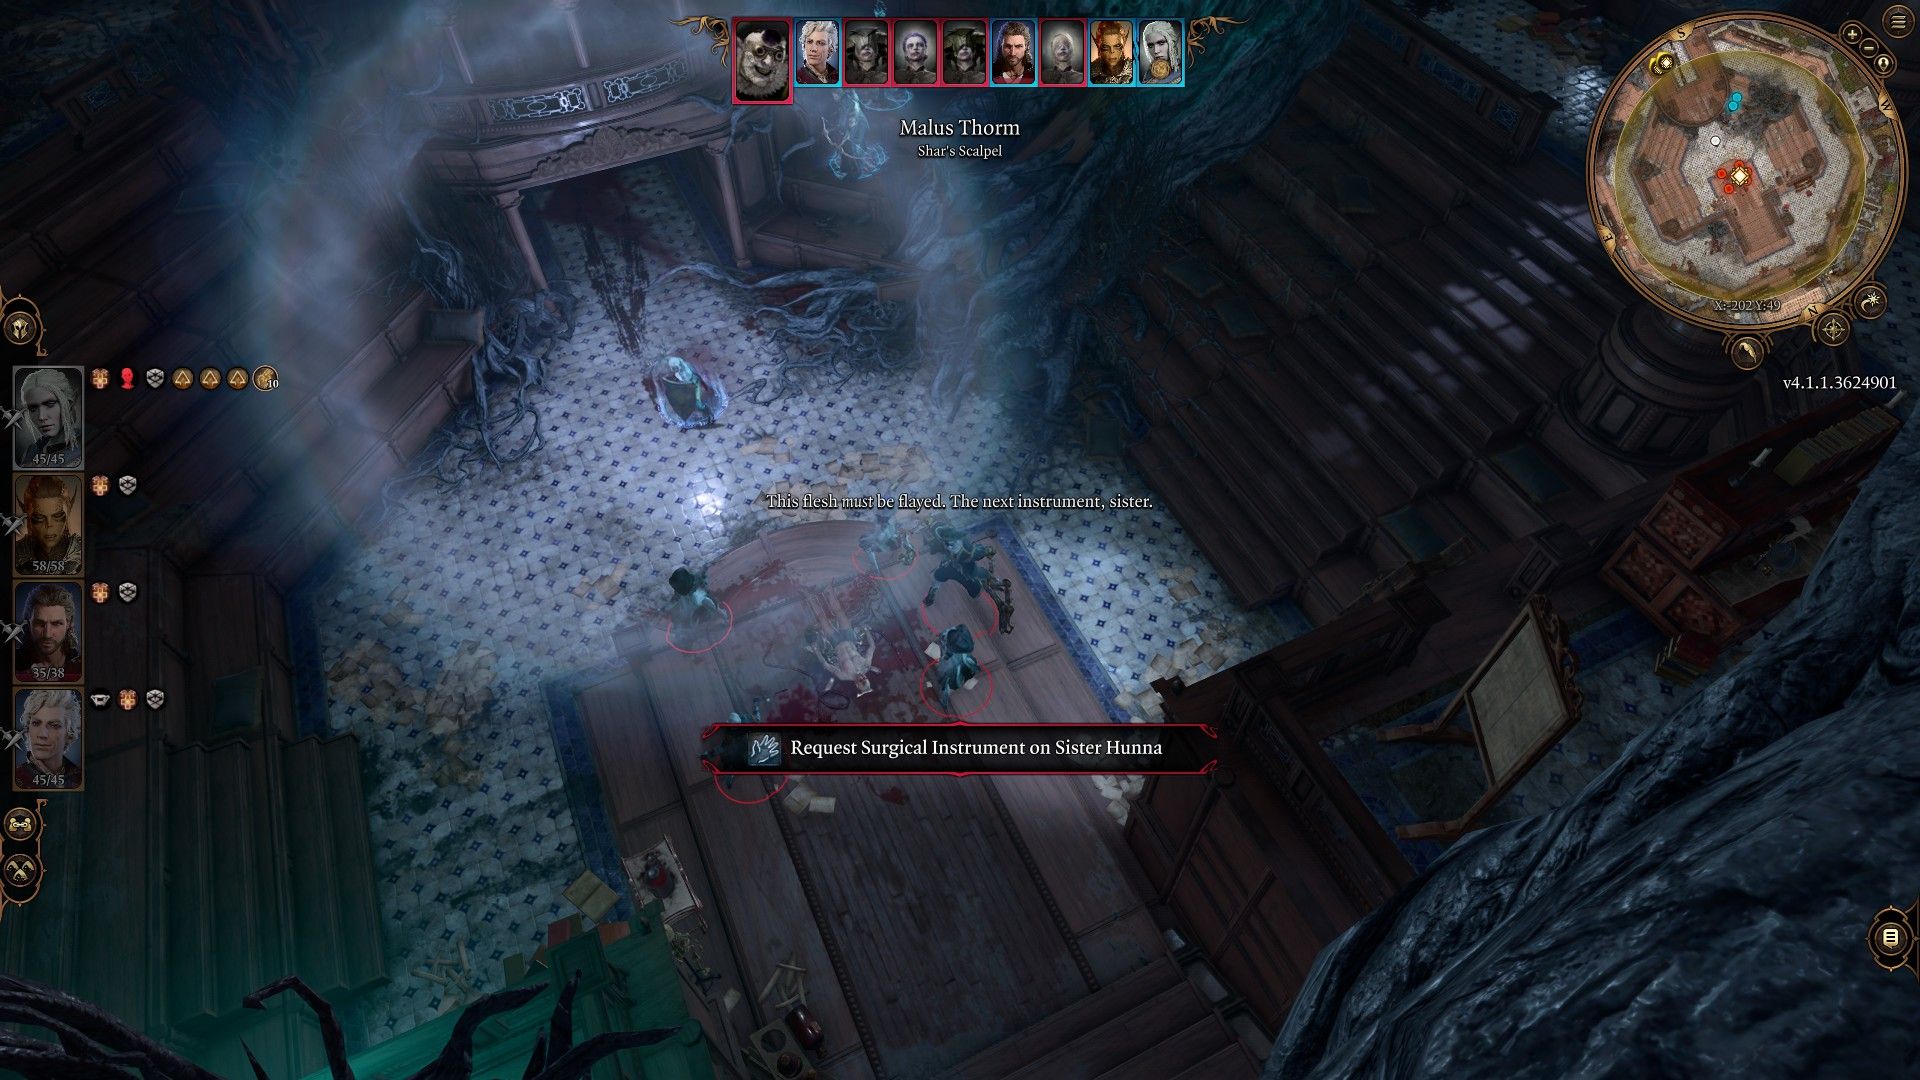
His assistants each carry a special weapon item. Once per turn, he will call on one of his assistants to come forward and hand him that item. If they reach him, he can equip it.
You'll need to stop each of the assistants before they reach Malus to the best of your ability. Unfortunately, this is easier said than done because:
- They have relatively large HP pools of 48.
- They resist Poison and Fire.
- They always begin battle a walkable distance behind Malus.
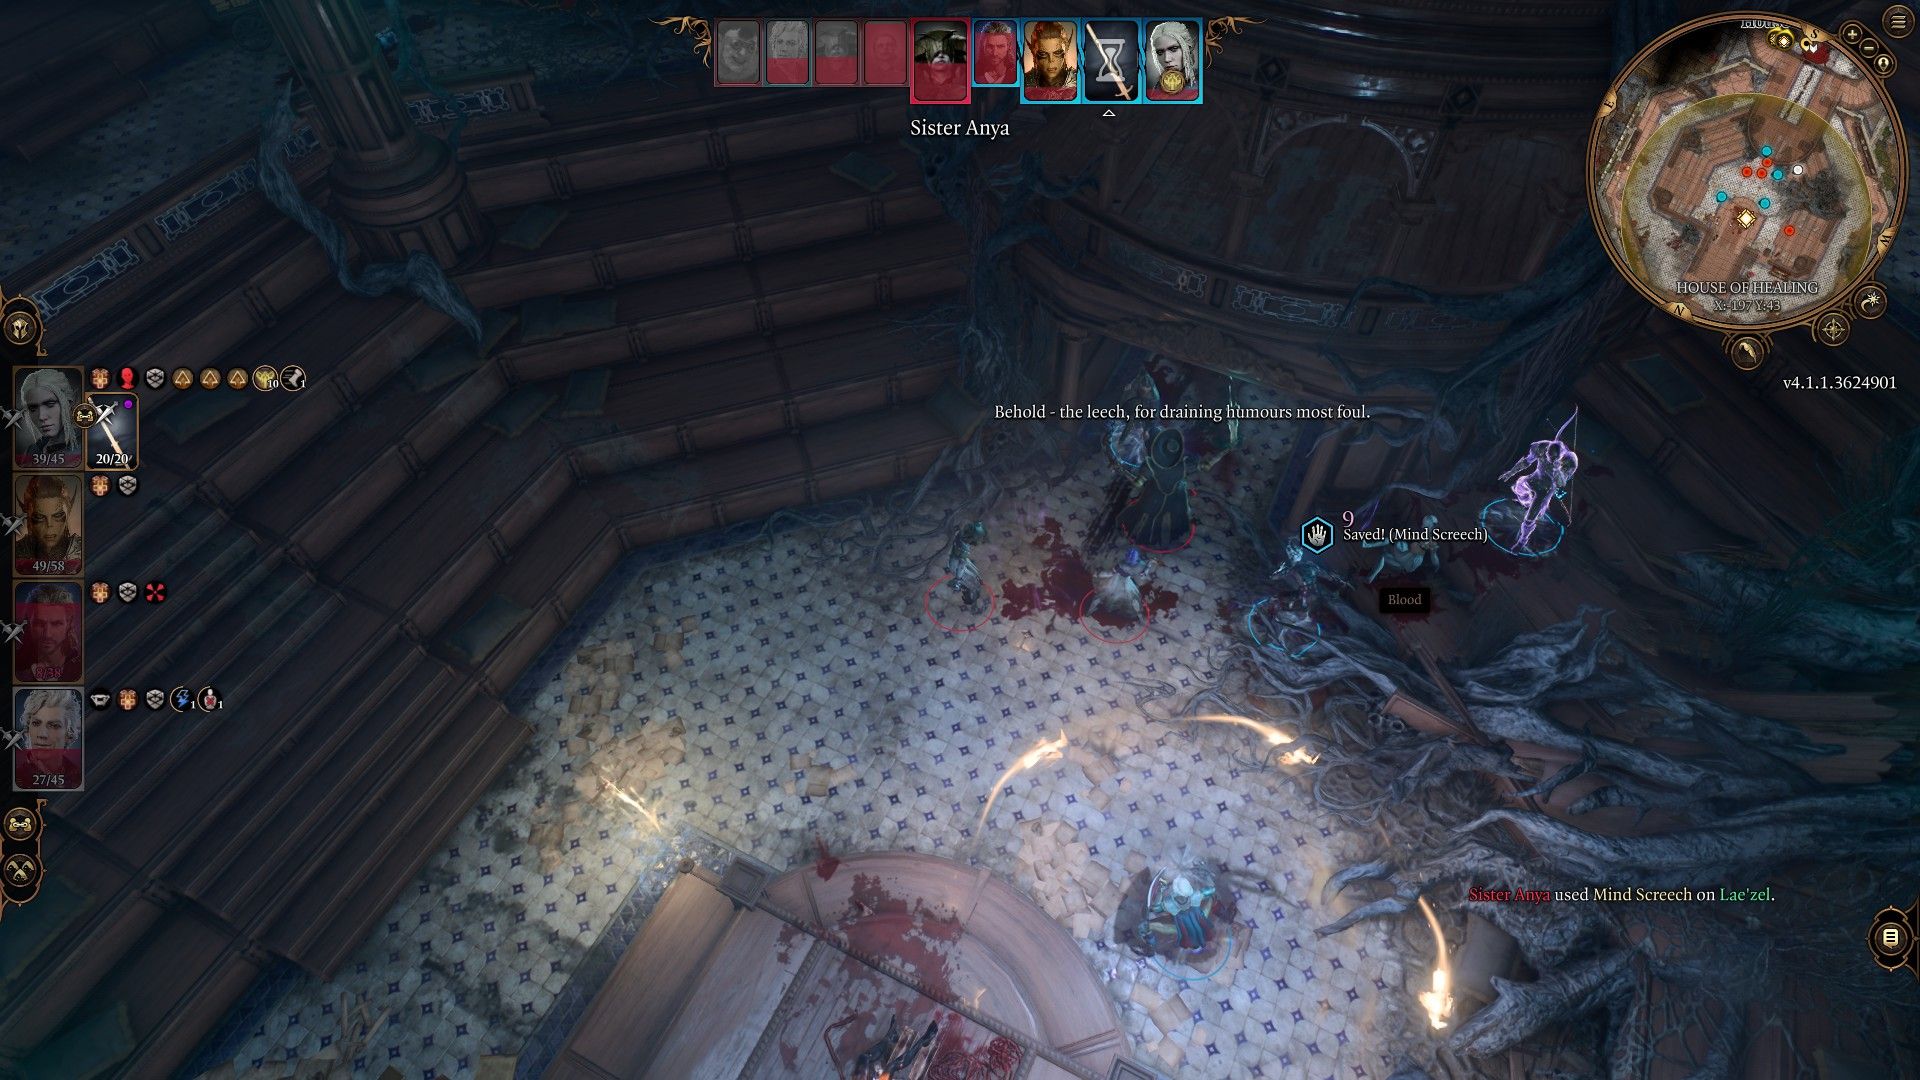
- They can use Mind Screech, causing a large amount of Psychic damage and a chance to paralyze the target.
- One person in your party must give up their weapon hand to always hold the Moonlantern if you chose to keep it
- All party members must stay within the Moonlantern's area of effect range if you chose to keep it.
As a result of all these factors, you most likely won't be able to stop the first one from reaching him. You'll need to focus on later-called assistants.
This fight is infinitely easier when you know the order of assistants and weapons he calls for. Every battle instance, Malus will call for his assistants in this order:
- Sister Hunna - Bonesaw
- Sister Geanne - Artificial Leech
- Sister Anya - Syringe
- Sister Vanessa - Trepan
Whichever one you don't kill, he'll call for the next one instead. The order loops when he reaches the end of available sisters. As a result, your first two targets should be Anya and Vanessa (the Trepan is the most dangerous weapon of the four).
With Anya and Vanessa as your primary targets, use area attacks like:
- Ice Storm
- Sleet Storm
- Spike Growth
- Call Lightning
- Moonlight
Don't attempt facing Malus until you've dealt with the four sisters. Their paralysis effects (through Mind Screech and thrown Karabasan's Gift potions) and their ability to buff Malus to incomprehensible levels make them far more frightening than the man himself.
Having the ability to use Misty Step here is a huge bonus. You can swap around the room, avoiding Malus and taking out the sisters as needed.
Just beware that you will be afflicted with the Shadow Curse if you leave the area of effect around your Moonlantern and don't have the Pixie's blessing.
With Vanessa prioritized above all others, take out the assistants and then begin focusing on Malus.
Although his assistants are gone, he's still a formidable opponent. Try keeping yourself at full HP as much as possible. Being even a point below will mean Malus gets to make a second attack with his claws against his target.
Keep your healer busy while you go to town on Malus. With his general tankiness between HP and resistances, it will be a long time, so you'll have to get comfortable for the long haul.
Malus's second dangerous quirk is that he can revive his assistants, going in order of who would have been next. They are always revived at 12HP.
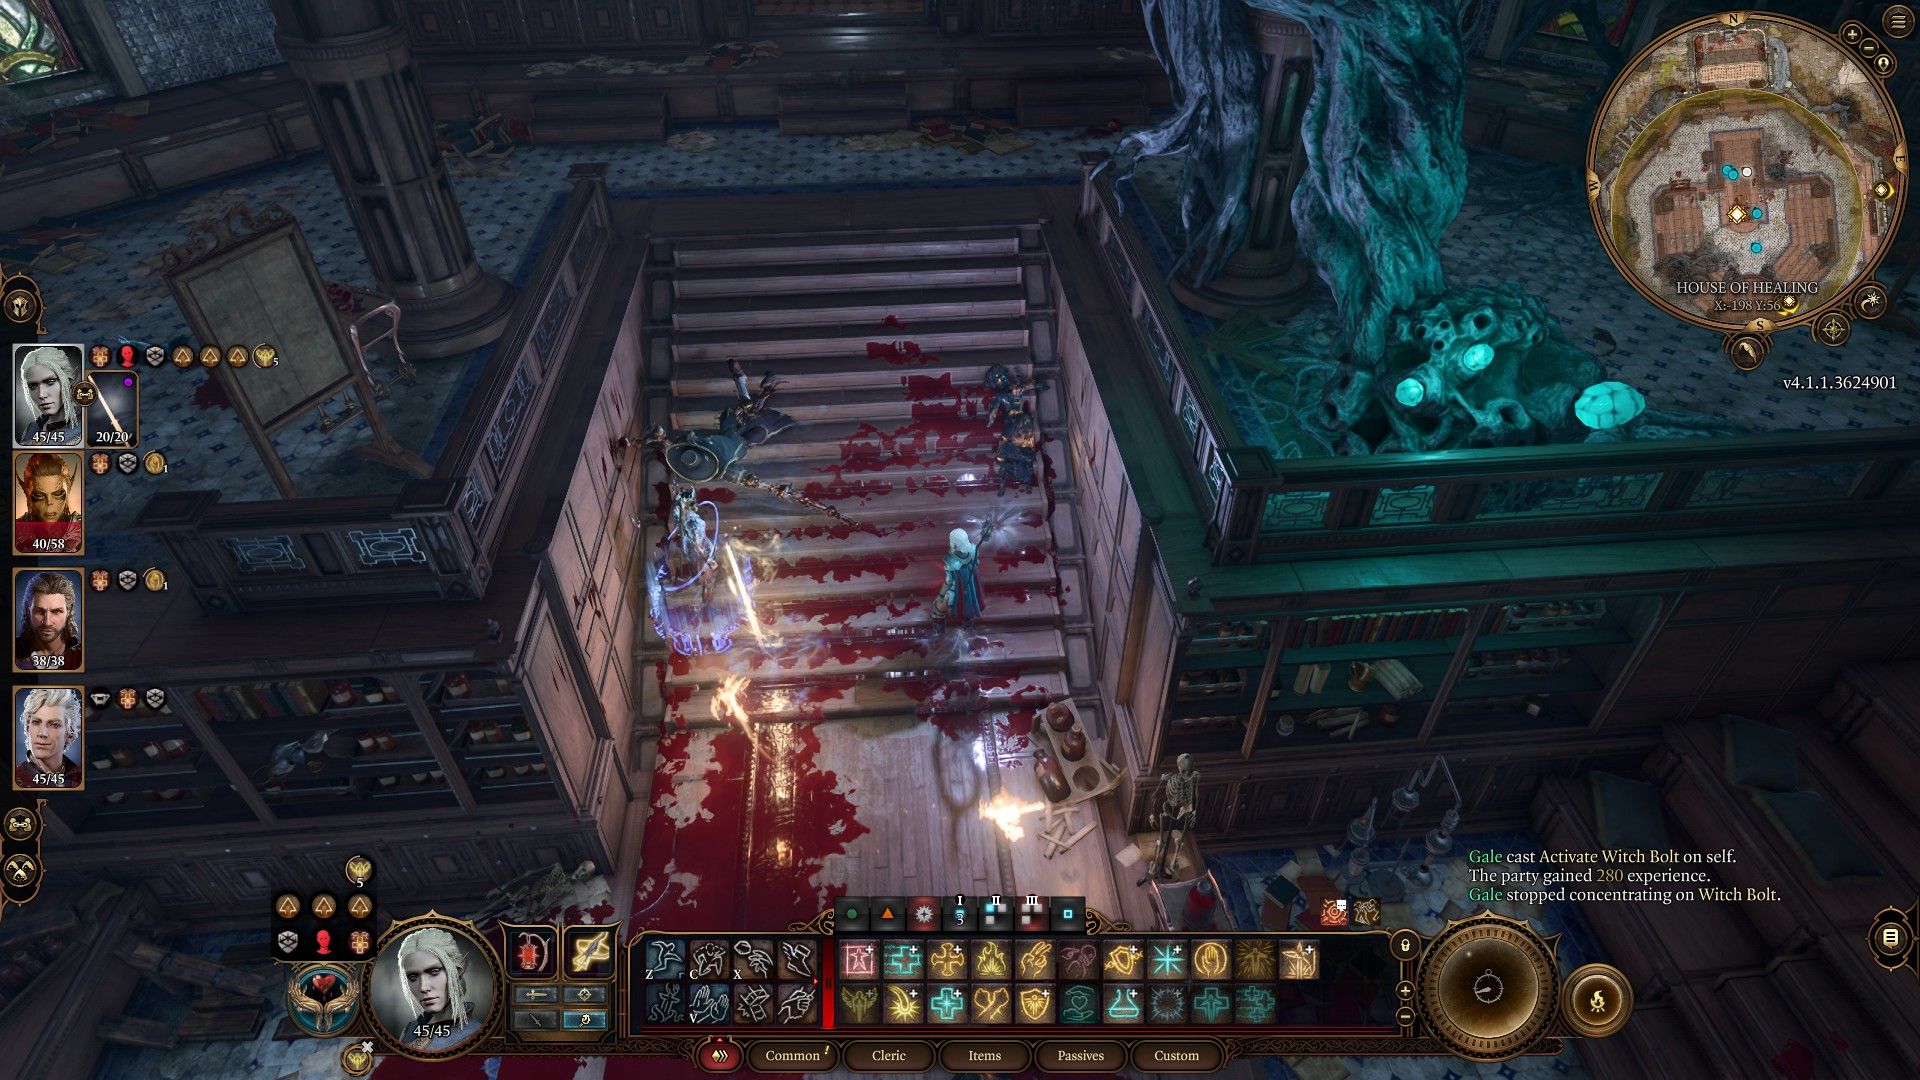
You can defeat these revived assistants relatively easily. If you have an Assassin Rogue in your retinue, you will always be able to use the Assassinate perk on them and remove them in a single strike. Take them out quickly to avoid them being a problem, and continue hacking and slashing Malus.
A bug can be created when you loot the bodies before they're revived, taking away the weapon, and Thorm requests for a servant. This sometimes confuses the AI, leading to long wait-times in initiative and, in rare instances, duplication of the weapon.
Eventually, though, you'll see the light at the end of this surgery, and you'll be able to defeat Malus Thorm once and for all. You can take all of Malus's dangerous weapons, his unique amulet, and the important Battered Lute you came for.
There is also the surgery patient to consider. You get an achievement if you killed Malus before he performed surgery on his patient.
However, there is no known way to save the patient at this time. You can choose to walk away from the House of Healing and leave him to die, or you can end his suffering before you go.
Returning To Art Callugh
Return to Art Callugh in the Last Light Inn and speak with him and Halsin. You'll be prompted to play the lute. Do so.
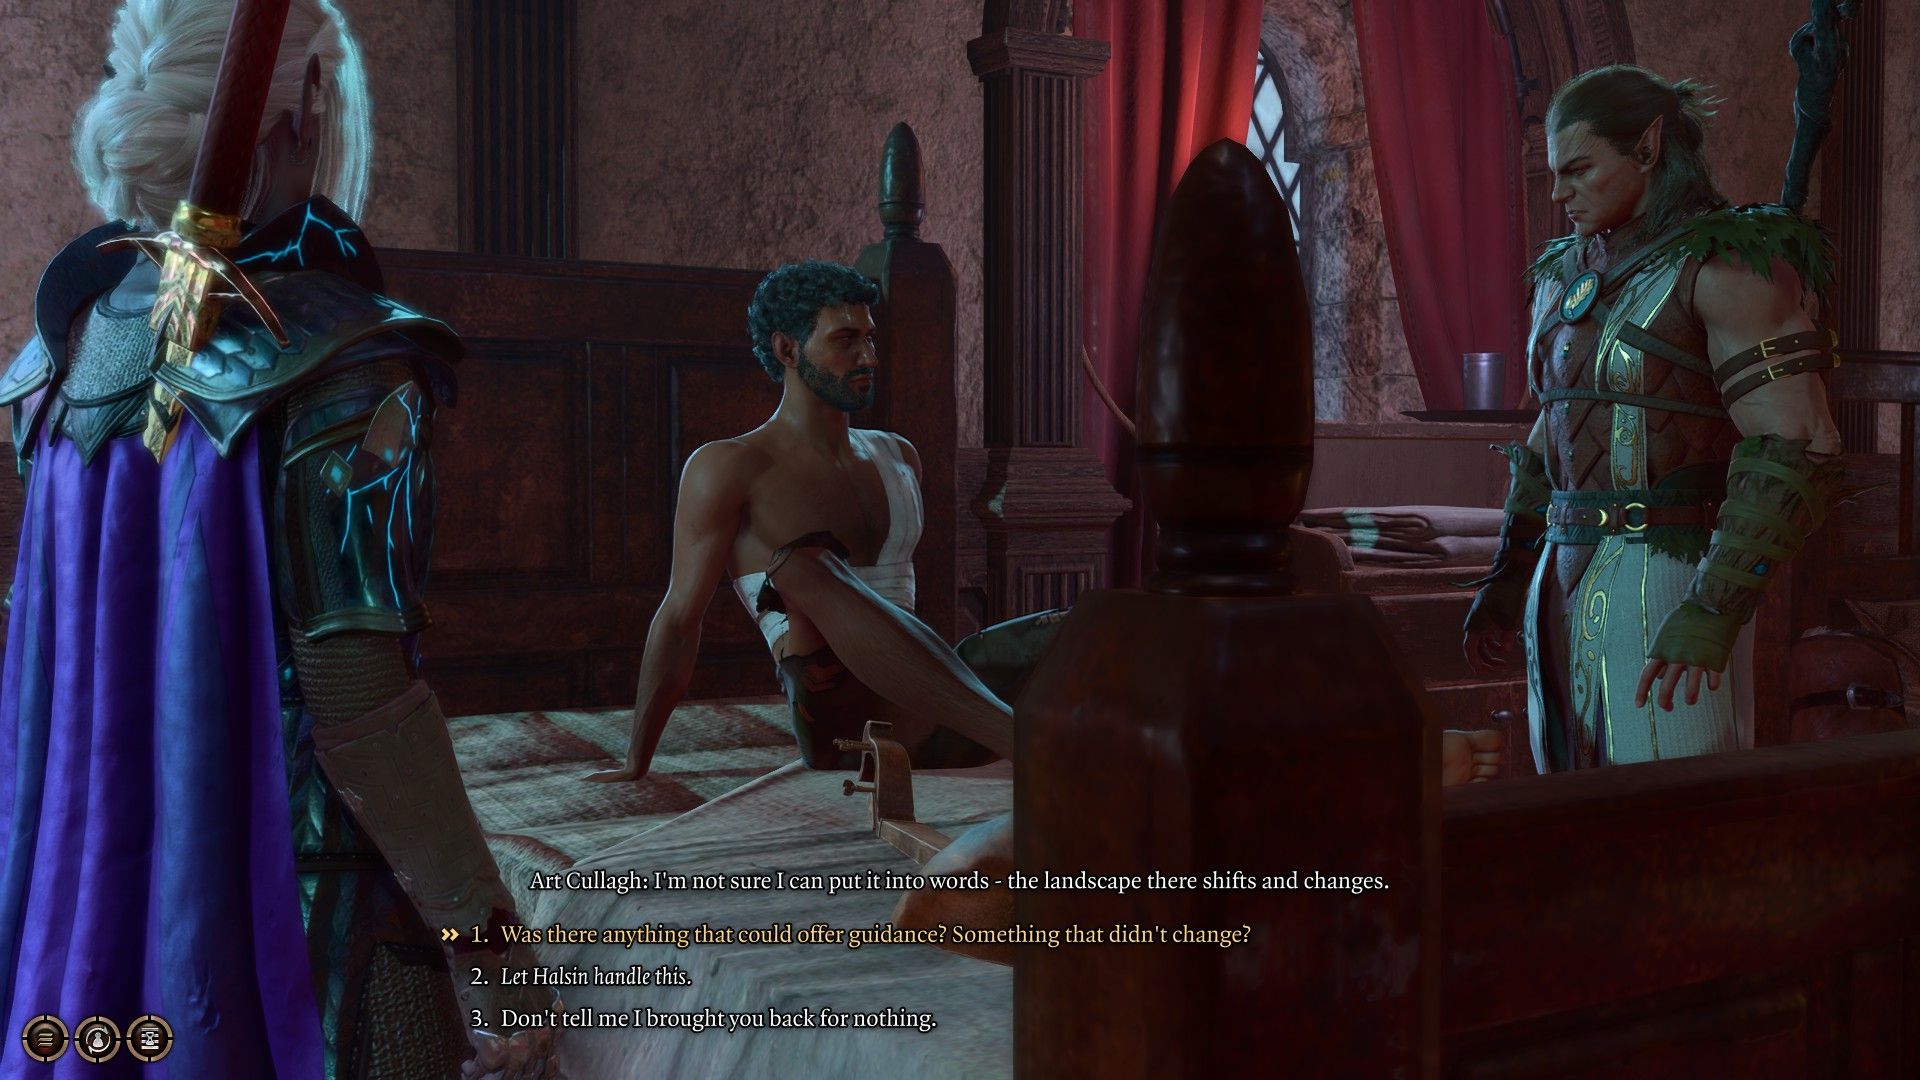
As you play the lute, Art Callugh will finally awake. You can choose to speak with him and gain more information about his dreams or let Halsin do the talking.
No matter how you let it play out, you can start the next quest with Halsin. It's a quest that will lead you to another dangerous defense instance, a game of hide-and-seek, a new playable companion, and, most importantly, a cure for the Shadow Curse.
With this quest under your belt and another just around the corner, you can follow Halsin out the door and to the beach to continue your adventure.

