Quick Links
Pokemon Brilliant Diamond & Shining Pearl brought a host of new and returning features to the franchise, and among them were numerous ways to shiny hunt; shinies remain as popular as ever, with countless players spending hours trying to get their hands on the elusive recolored Pokemon.
Unlike Sword and Shield, where methods to hunt were pretty limited, Brilliant Diamond and Shining Pearl (BDSP) contain a multitude of different ways to get your hands on shinies faster. This guide will have everything you need to know about all the new and returning methods to help you go shiny hunting in BDSP.
Updated on August 6, 2023 by Quinton O'Connor: Shiny hunting in BDSP might not be the new hotness now that Pokemon Scarlet & Violet have been around for a bit, but there's a degree of depth to the way the Sinnoh remakes handle the process that is really rather fascinating. We've given this guide yet another pass to keep it as polished as a speedy Geodude.
The Basics Of Shiny Hunting In BDSP
Before getting into the methods, it's important to get a few key facts out of the way. For one, the base shiny odds in BDSP are the same as they've been in all games since Gen Six - one in 4096. These are your odds of running into a shiny in a random wild encounter or having a legendary or starter be shiny on any given reset.
Many people do hunt like this - just doing wild encounters repeatedly, or soft-resetting for legendaries - so the average time for a shiny, if you want to hunt this way, will be roughly the same as in Sword and Shield.
Soft-resetting in BDSP also works like in Sword and Shield. There's no dedicated button, so you just have to save before the legendary, starter choice, or whatever else, then close out of the game and relaunch it to soft reset.
Reload, Re-Roll
For those out of the loop, the shininess of a static encounter (like a starter or legendary) is determined when the encounter starts, so by saving right before it, doing the encounter, and resetting to before the encounter if it's not shiny, you can essentially keep re-rolling the encounter until it shines.
One important thing to note about soft-resetting is that like in previous games, overworld encounters have all their attributes (such as gender, stats, and yes, shininess) pre-determined.
The reason for this is due to visual differences - Pokemon whose female and male variants appear different need to have that reflected in the overworld model; sadly, shininess, while pre-determined, is not shown in the overworld model, so you'll still have to encounter a Pokemon to find out. Once an overworld Pokemon has been generated, it cannot become shiny if it isn't already, no matter how many resets you do.
This is relevant to BDSP in the Grand Underground, as it means you cannot soft-reset on an overworld Pokemon down there. You can still hunt Pokemon in the Grand Underground, you'll just have to do it by encountering the Pokemon you want and then leaving and re-entering the room to reset spawns.
Now, let's talk about shiny locks. A shiny locked Pokemon is unable to be shiny, no matter what you do; for example, Sword and Shield's respective Zacian and Zamazenta encounters in the story cannot shine. It's good to know which Pokemon in a game are shiny locked, so you don't waste your time hunting for something impossible.
Fortunately, very few Pokemon in BDSP are shiny locked. You can't get shinies from the in-game trades (though gifts like the post-game Eevee can shine), and the gift Mew and Jirachi you receive for having played previous Pokemon games on the Switch are also shiny locked.
Other than that, everything is fair game: Palkia and Dialga; the starters; the Ramanas Park legendaries; even Shaymin and Darkrai whenever their events become available.
The Shiny Charm
The Shiny Charm exists in BDSP, as has been the norm for everything since Black 2 and White 2. Once you have it, your shiny odds are permanently boosted. However, the Shiny Charm only boosts shiny odds for Masuda method eggs - not random encounters or other methods.
It's unclear if this is intentional since it's a departure from how the Shiny Charm has acted in every game prior, but it's worth keeping in mind that if you plan to do any kind of hunting other than the Masuda method, the Shiny Charm won't help you.
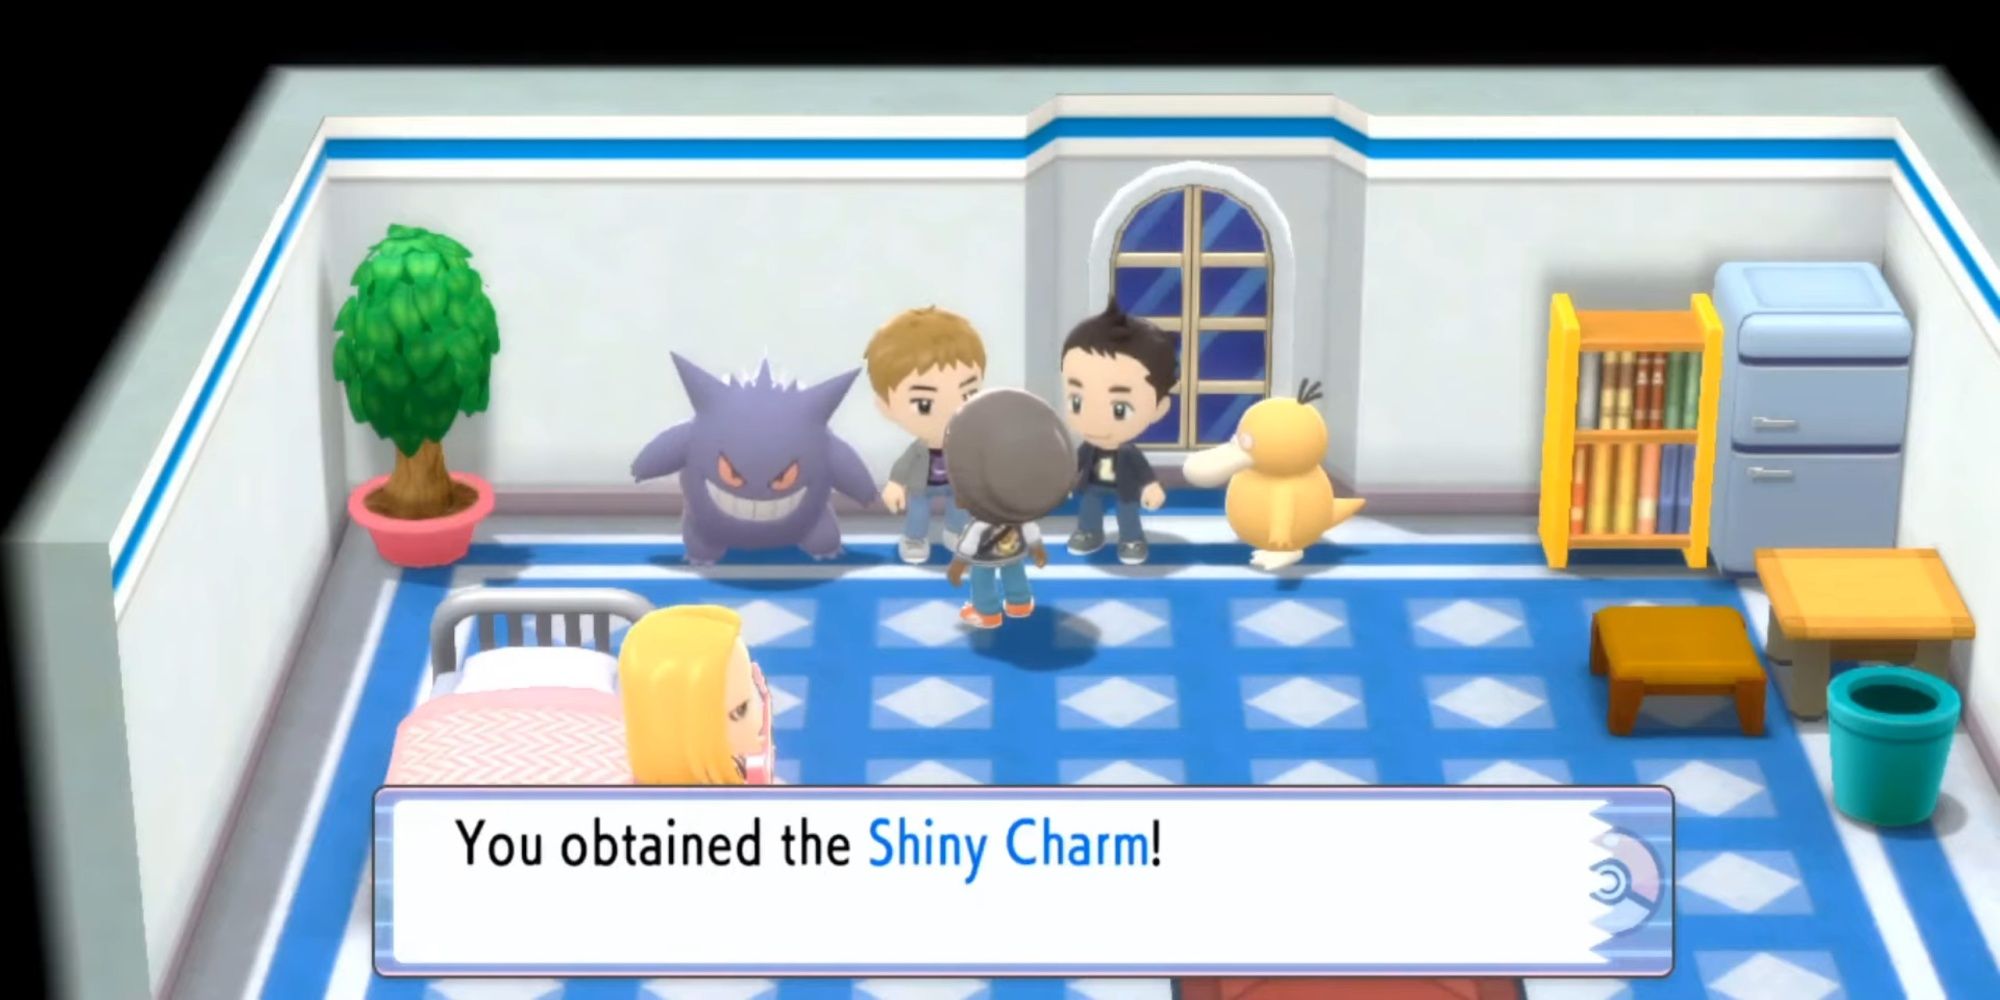
As for how to get the Shiny Charm in Brilliant Diamond and Shining Pearl, you'll need to catch all 493 Pokemon in the National Pokedex and make your way to the Game Director's House at the Hotel Grand Lake, and speak to Morimoto. He'll congratulate you on your hard work and reward you with the Shiny Charm.
The Masuda Method
The first major method in BDSP is the Masuda method, a staple of every game since Gen Four. As always, it boosts shiny odds for eggs when you breed your target Pokemon with a Pokemon from a copy of the game in a different language. The odds for this are the same as they've been since Gen Six: 1/682 without the shiny charm, and 1/512 with it.
If you're looking to get into hunting with the Masuda method, Ditto is your best friend, since it can breed with anything.
Fortunately, getting your hands on a foreign Ditto is easier than ever on the Switch. Standardized link codes for international Ditto trading can be found on Reddit.
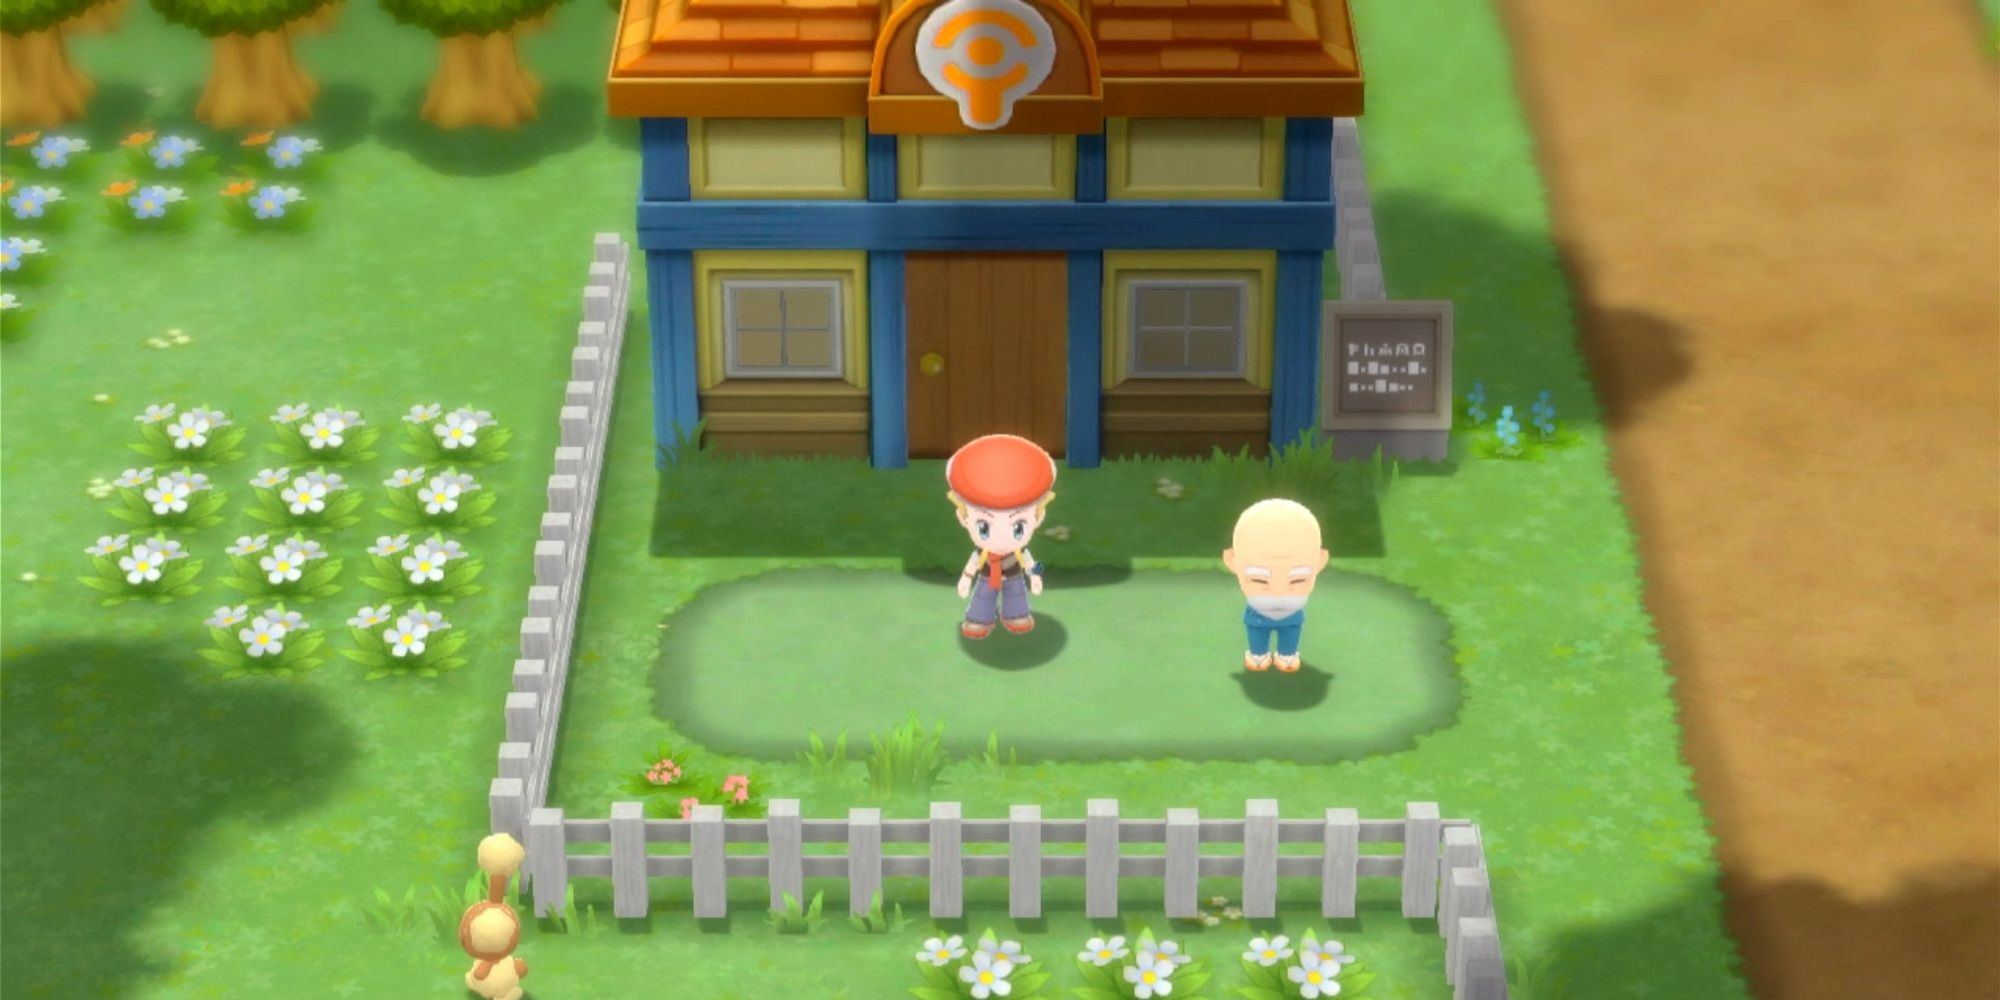
In BDSP, the nursery is located at Solaceon town, and you'll know there's an egg ready when the old man outside faces out towards the road instead of down away from the nursery. For a full guide to the ins and outs of Masuda method hunting, and some helpful tips and tricks, check out this article here.
Pokeradar Chaining: Introduction
Making a return from the original games (as well as having shown up in X and Y) is the Pokeradar.
After you've seen every Pokemon in the Sinnoh Pokedex, Professor Rowan will give you this fancy tool, which will allow you to encounter previously unavailable Pokemon, and, unlike in the original Diamond and Pearl, Pokemon with their Hidden Abilities (you'll know you have an HA Pokemon when there are far more leaves coming from the shaking grass) and maxed IVs.
The Pokeradar also has a shiny hunting method attached to it and a somewhat infamous one at that.
You'll need the Pokeradar, a lot of repels, a lot of Poke Balls, and a Pokemon with plenty of high-PP moves that can easily KO your target Pokemon.
Once you have all those, look up where your target can be encountered with the Pokeradar, and make your way there.
Pokeradar Chaining: Reading The Grass
Once you're at your chosen area, use a repel, step into the grass, disable autosave, save your game, and use the Pokeradar. Go to one of the shaking patches, and if the encounter isn't your target Pokemon, just run away, or soft reset to your save, and repeat.
If the encounter is your target Pokemon, knock it out or catch it to begin your chain. Once this encounter ends, there will be more grass patches shaking when you return to the overworld. Choosing the correct patch here is crucial, and is also what makes Pokeradar chaining so notorious.
There will be four shaking patches of grass, and unlike previous Pokeradar games, these will continue to shake, so you don't have to memorize them. Another cut aspect we won't miss is shaking speed, which was a nightmare to try and even see on DS screens.
There are now only two factors that will determine whether a grass patch continues your chain. The first is how far the grass is from you - one tile away has a 53 percent chance of continuing the chain; two tiles away is 63 percent; three tiles away is 73 percent; and a shaking patch four tiles away has an 83 percent chance of continuing the chain. Obviously, go for grass four tiles away.
If you finish the encounter and there are no more patches of shaking grass, the chain has broken, and it's time to start over.
If there's no grass four tiles away, don't worry - you can re-do the shaking patches. Simply run 50 steps (use the D-Pad as opposed to the stick if you want to make sure you don't run into anything accidentally) to recharge the Pokeradar, and use it again. This will give you new patches of grass, and you can redo this as many times as needed to always be going into grass four tiles away.
Now for the other factor affecting the chances of a chain continuing - whether you knocked out or caught the previous Pokemon. The odds listed above are for knocking out the Pokemon, but if you caught it, the chance of grass four tiles away continuing your chain is boosted by 10 percent, meaning it will have a 93 percent chance of continuing the chain.
When catching the Pokemon, there is no change for grass one, two, or three tiles away. Catching a Pokemon in grass four tiles away is the ideal way to have the best odds, but it does sadly mean there's a 7 percent chance that even if you do everything correctly, your chain will be broken.
And that adds up! Hitting 40 consecutive 93 percent chances has a success rate of around 5 percent. Yes, one in 20 is as good as shiny odds get, but just keep this in mind and be prepared for the frustration of failing chains over nothing.
Because of this, it's ideal to catch all the Pokemon in your chain. For catching things quickly, Ultra Balls are a good option, as are Repeat Balls since, if you didn't already, you'll have the Pokemon registered as soon as you start the chain. Dusk Balls are always a good option if you're chaining at night, Quick Balls are great too, and various other Balls are worth considering depending on what you're hunting.
As mentioned above, the magic number for your chain is 40. At a chain of 40, you have shiny odds of one in 99 (even better than the one in 200 from previous Pokeradar games), although that statement is slightly misleading.
You don't have shiny odds of one in 99, you have shiny grass odds of one in 99. Any wild Pokemon you encounter while you have a chain of 40 will still have shiny odds of one in 4096 - even the Pokemon you're chaining. However, as your chain climbs, the odds of seeing a shiny grass patch when you use the Pokeradar increase.
A shiny grass patch is identifiable thanks to the sparkles it emits when it shakes, and it's guaranteed to contain a shiny Pokemon.
It's recommended to continually catch Pokemon in grass four tiles away to get your chain up to 40, then simply reset your Pokeradar until you see shiny grass. It shouldn't take long - you see four grass patches per reset, and you have fantastic odds of one in 99, so it should take a mere 25 or so resets on average.
Once you see the shiny grass, jump into it and catch your shiny new friend. Contrary to previous appearances of Pokeradar chaining, catching the shiny won't break your chain, so if you get lucky and the chain continues after the shiny encounter, you can go back to resetting the radar for another shiny!
If you're looking for a way to track your chain, there's now an easy way to do that, too. You can get a Pokeradar app that tells you what you're chaining and how high your chain is in Ramanas Park - another welcome quality-of-life improvement over the infamous Pokeradar chaining of old.
Pokeradar Chaining: Doing The Math
Lastly, let's go over what breaks your chain. Don't do any of these things:
- Encountering another Pokemon in a normal wild encounter (this is why you need to keep yourself repelled)
- Getting on your bike
- Battling a trainer (before starting your chain, just make sure you've already fought everyone in the area)
- Going into the Grand Underground or entering a different area (another Route, town, or city - if the name of the location pops up when you enter it, it'll break your chain)
- Closing the game (though putting your Switch in sleep with the game still running is OK)
In the event your chain does break, you can reload the save you made to minimize the repels and Poke Balls you use, saving you money. This is why you made the save - just soft reset to go back to square one with the resources you started with.
This is also why autosave has to be disabled - your save is no good if it's at a random point mid-chain, as you'll have fewer resources and your chain will have broken upon the soft reset anyway.
Lastly, a note on catching Pokemon with maxed IVs. At the following specific encounters in a chain, the Pokemon you catch is guaranteed to have the corresponding number of perfect IVs:
Encounter In The Chain | Perfect IVs |
|---|---|
10 | 1 |
20 | 2 |
30 | 3 |
40 | 4 |
100 | 5 |
The chance of getting to a chain of 100 is around 0.07 percent, so good luck with that. It's probably quicker just to go for a 3- or 4IV Ditto and just breed from there. At the time of this writing, the perfect IV Pokemon are guaranteed only on those exact encounters - i.e. specifically the tenth encounter will net you a 1IV Pokemon.
It's speculated that it's supposed to be all Pokemon from encounter 10 and onwards are 1IV, all those from encounter 20 and onwards are 2IV, and so on, and that things are currently bugged. As it stands, however, only the listed multiples of 10 themselves will get you those special Pokemon.
Shiny Hunting In The Grand Underground
The Grand Underground is the biggest change made to BDSP over the original Diamond and Pearl, and it has countless new mechanics, some of which can affect shiny hunting. The new systems are somewhat confusing, but datamines have given us everything we need to break it down and work out how to catch shinies in the Grand Underground.
The odds of capturing Pokemon are significantly reduced in the Grand Underground, meaning they're much harder to get in a Ball. If you're hunting down there, plan ahead by bringing a false swiper, a paralyzer, and a lot of Poke Balls, as you don't want to miss out on the shiny due to harder-than-usual catch rates.
Another way to counter the increased difficulty is with the Catching Charm, which works like the Shiny Charm but for catching, boosting catch rates across the board. You can obtain this charm from Morimoto in the Game Director's house at the Hotel Grand Lake, once you've caught all 150 Pokemon in the Sinnoh Regional Dex.
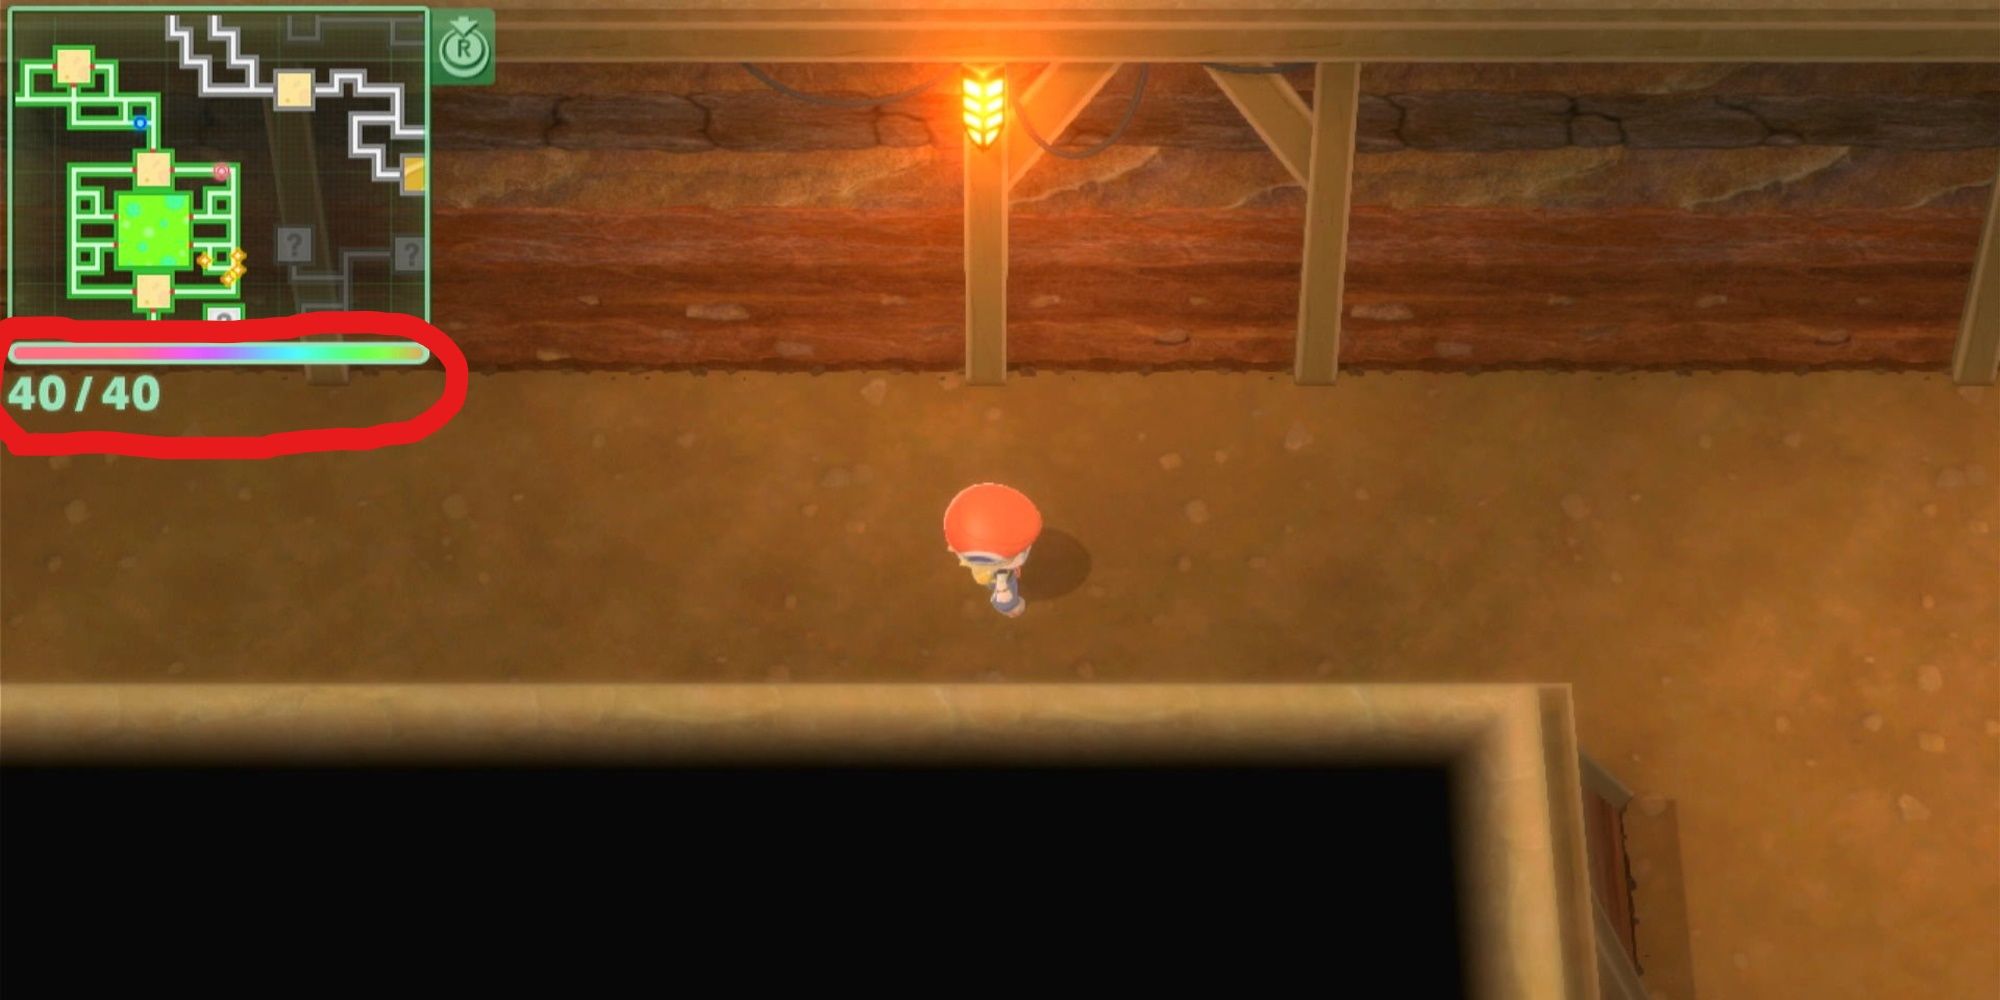
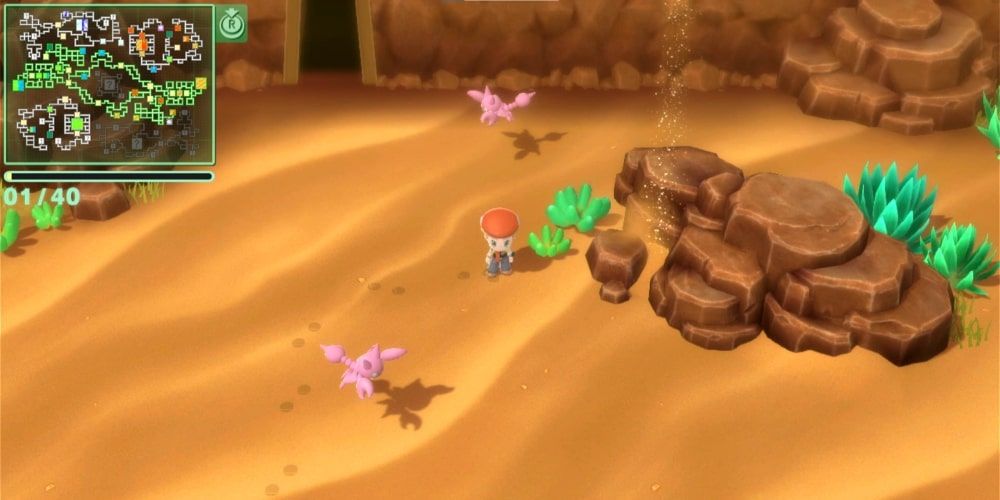
The first part of shiny hunting in the Grand Underground comes from the "lightstone" effect, which occurs when you reach 40 Diglett in your total. You might have noticed this counter below your map as you explore, and it tracks the Diglett you've gotten while underground (Dugtrio are worth three).
This counter resets when you leave the Grand Underground, so keep that in mind.
Reach a total of 40, and the bar will begin to glow and a whistle will sound. This signals the beginning of lightstone time, which lasts for four minutes.
You'll know it's over when a second whistle sounds and the bar stops glowing.
During lightstone, there are two main effects. The first is a direct (slight) effect on shiny hunting - odds are cut to 1 in 2048, which is a nice boost, but given that you can't exactly encounter 2048 Pokemon in four minutes, lightstone time is unlikely to catch on as a sustainable way to hunt. It's more just a nice bonus to slightly boost your chances of getting that rare encounter.
Furthermore, while 1 in 2048 seems like a big boost on paper, the difference will barely be noticeable in-game unless you're encountering thousands upon thousands of Pokemon, so don't expect lightstone time to shower you with shinies. Its real benefit comes with mining...
Gorgeous Stone Boxes
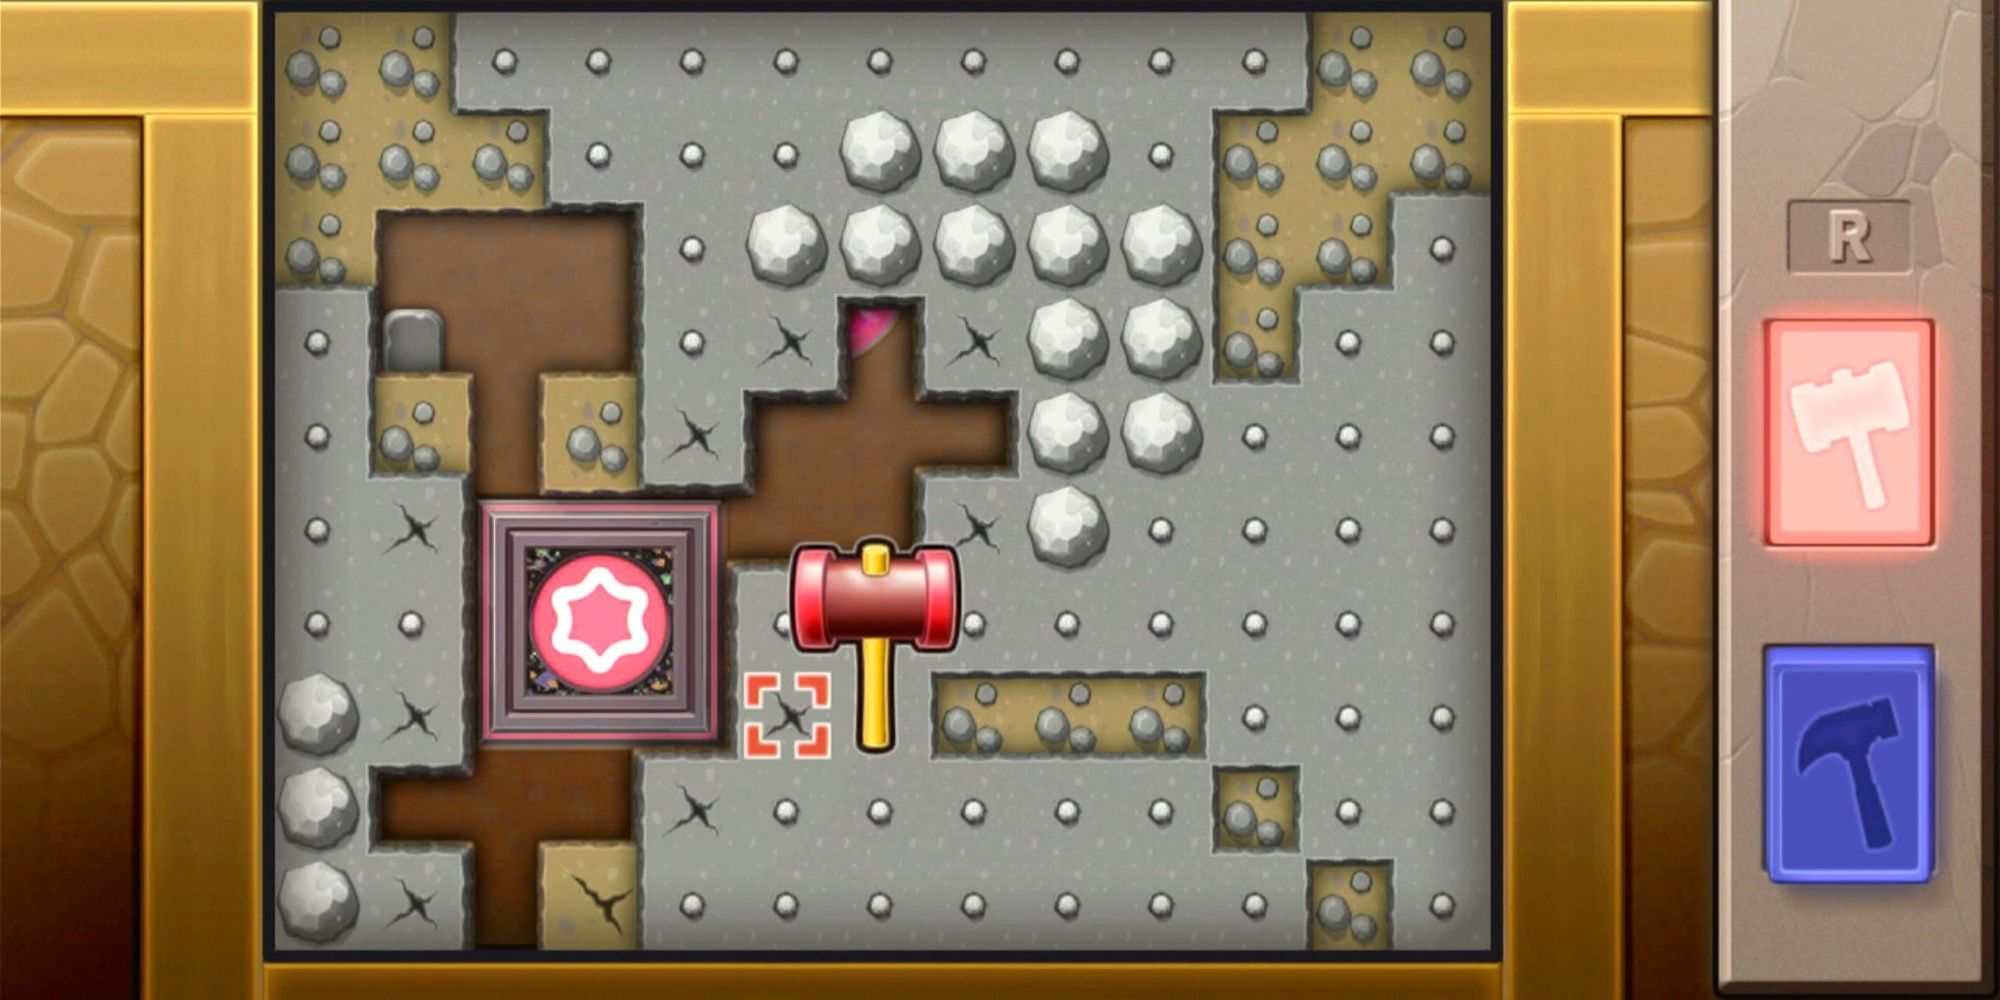
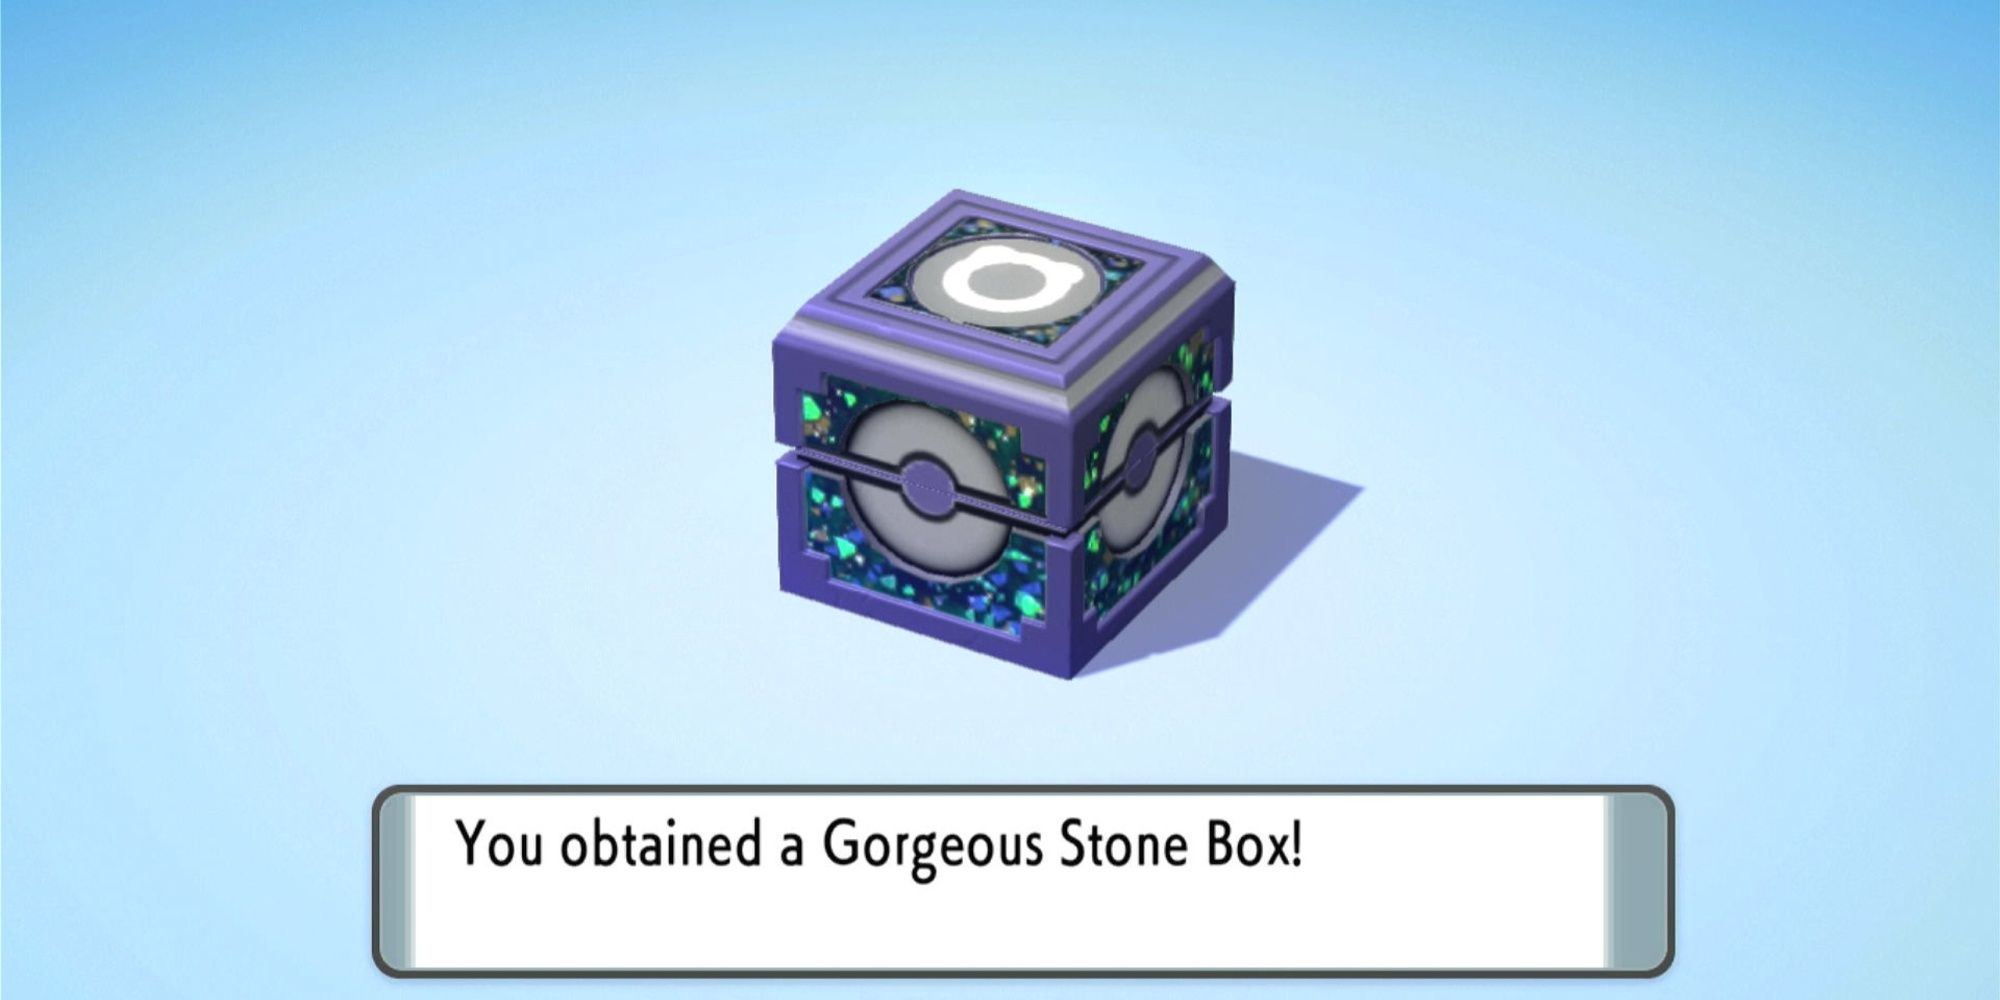
The second effect of lightstone time is more interesting - it drastically boosts your odds of obtaining Gorgeous Stone Boxes (as opposed to the normal Pretty ones) from wall digging.
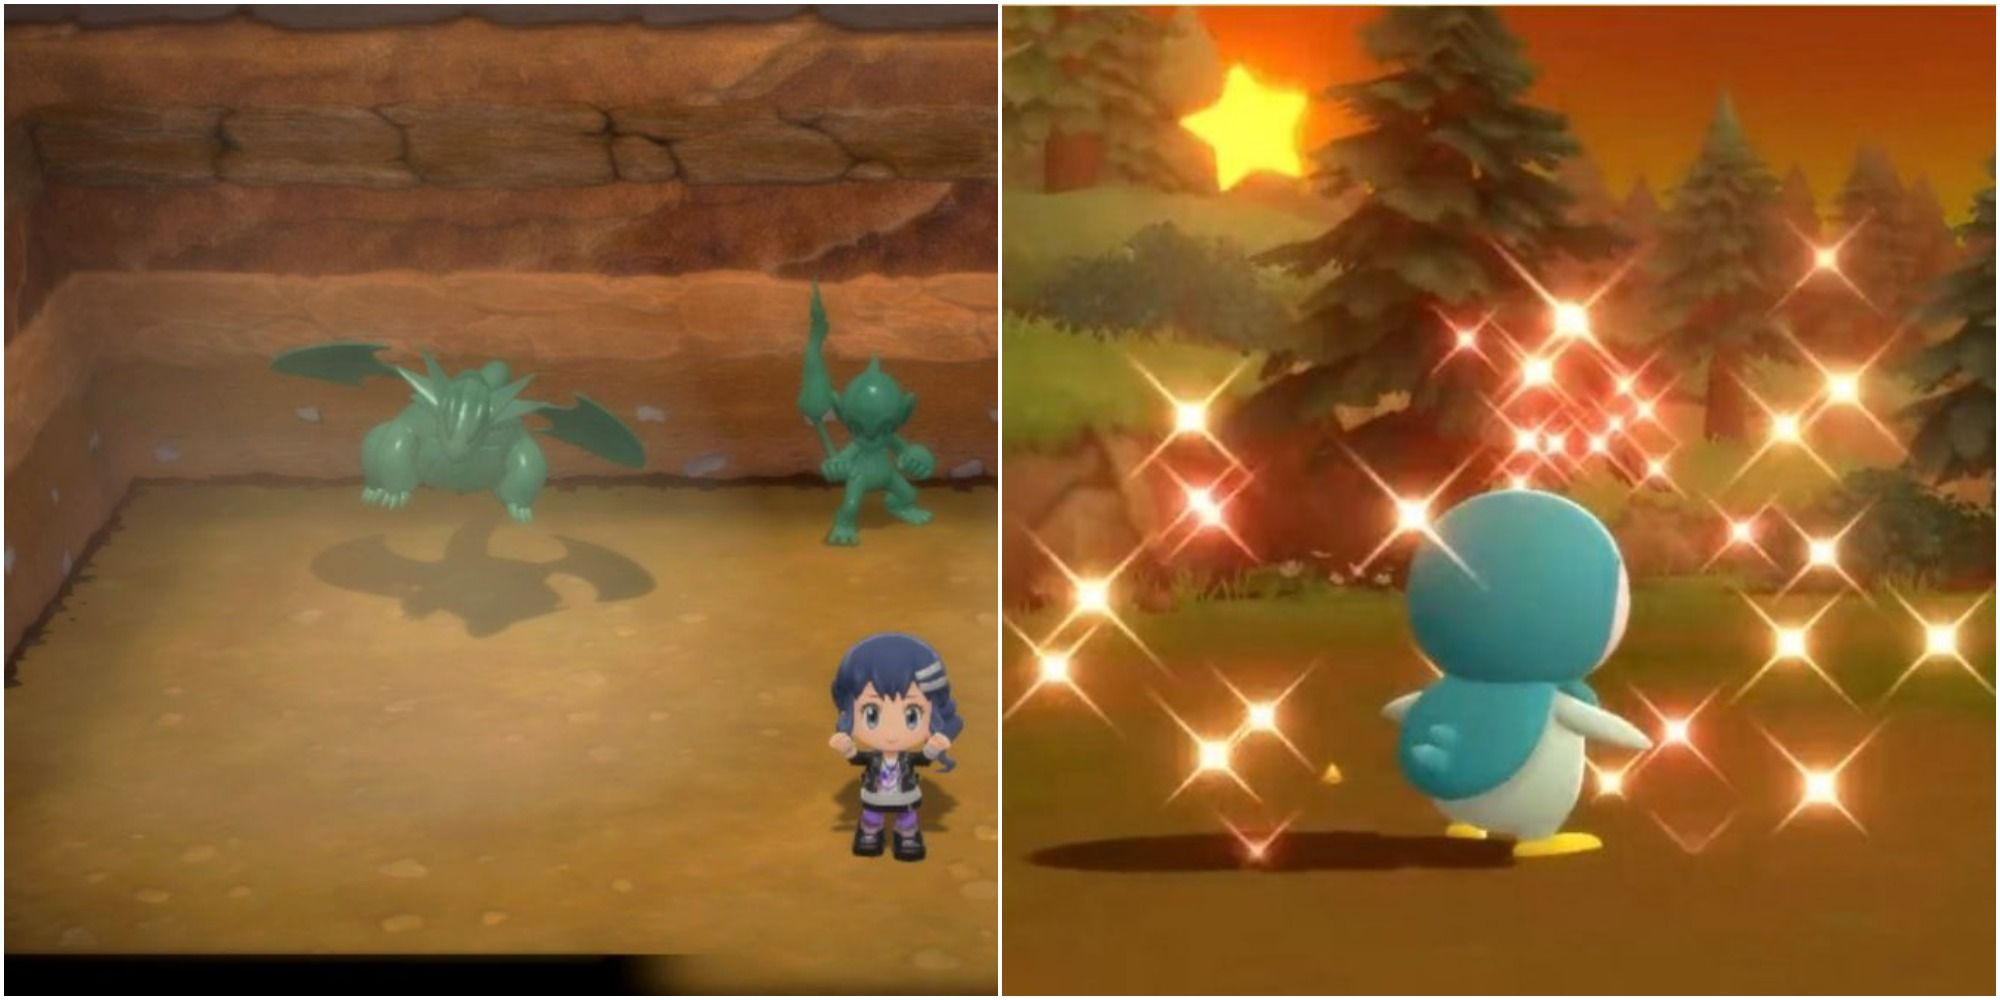
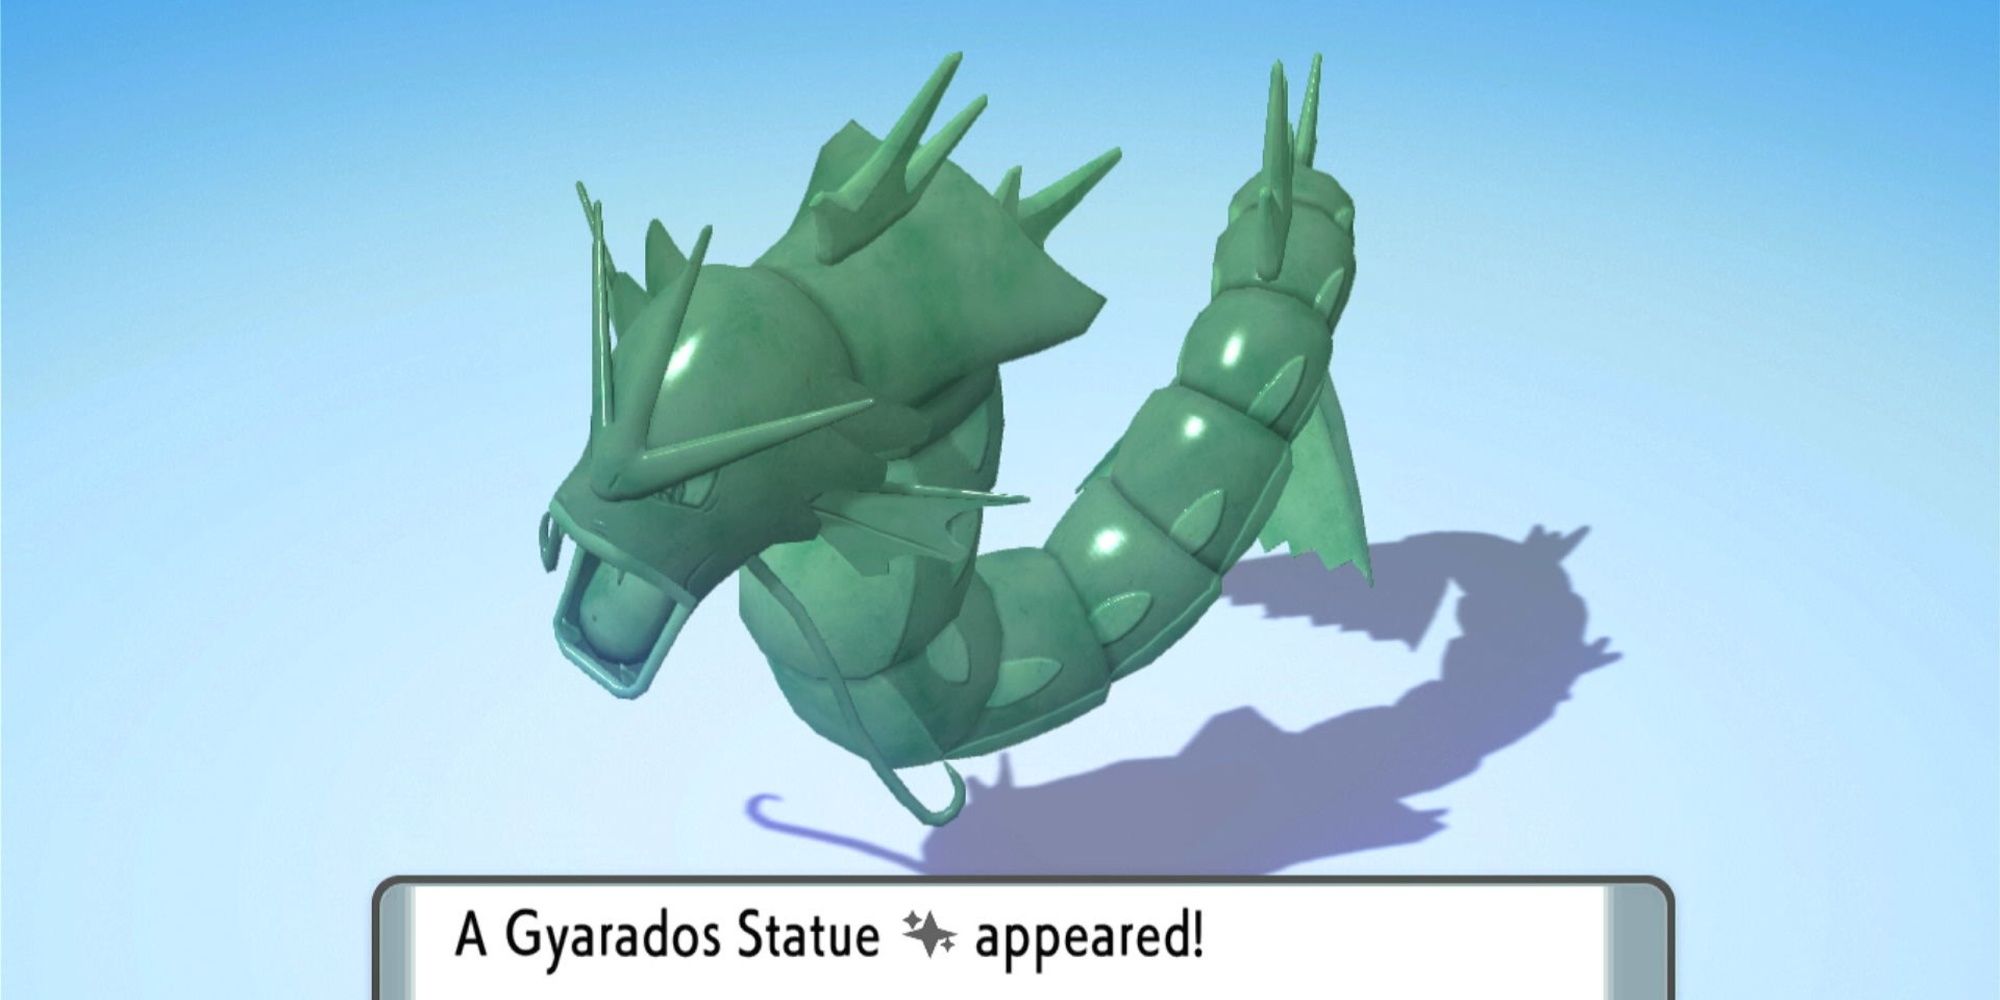
Gorgeous Stone Boxes are far rarer than their Pretty counterparts and contain the green shiny statues. This name is a bit misleading - it comes from the fact the statues have the shiny icon, so are essentially shiny variants of statues, but their direct link to shiny Pokemon is very minimal.
You can also get boxes with legendary Pokemon - there are 17 in the game, and these are very rare indeed.
When playing multiplayer, your Diglett total is shared and everyone benefits from lightstone time, so playing with friends or hopping into the global multiplayer is a great way to quickly fill the counter and get yourself lots of those all-important Gorgeous Stone Boxes.
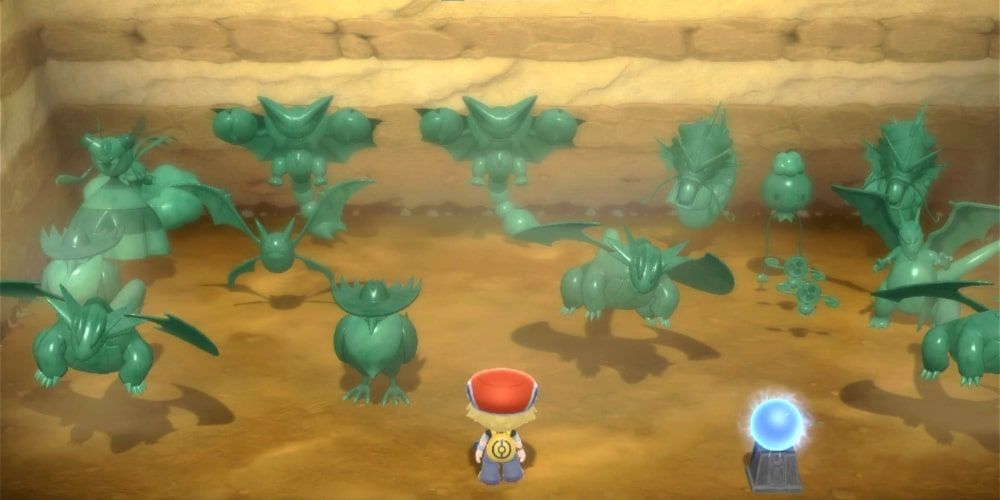
Why are the Boxes all-important? Because of the statues they contain, which constitute the other major Grand Underground mechanic that affects shiny hunting. Hunting the shiny statues is fun in itself, but for shiny hunters, they come with a really nice bonus.
Shiny statues don't directly increase shiny odds, but they can make a type of Pokemon appear more frequently, allowing you to hunt at full odds in the underground much faster.
Every statue has a hidden value that contributes to your base's overall effect. Final forms have the highest value, then middle forms, and lastly unevolved forms. Shiny variants follow the same pattern but have their values doubled as a result of their shininess. Above everything are legendary statues, which have higher values than even shiny final-form statues.
To obtain a legendary statue, you need to have caught the matching legendary Pokemon from Ramanas Park. A statue's value is of its typing, so a Mismagius statue would have a ghost value, a Torterra statue would have grass and ground values, and so on.
Statues with two typings will give more points to their primary typing (the topmost icon when looking at the statue) but will still give a good number to their secondary.
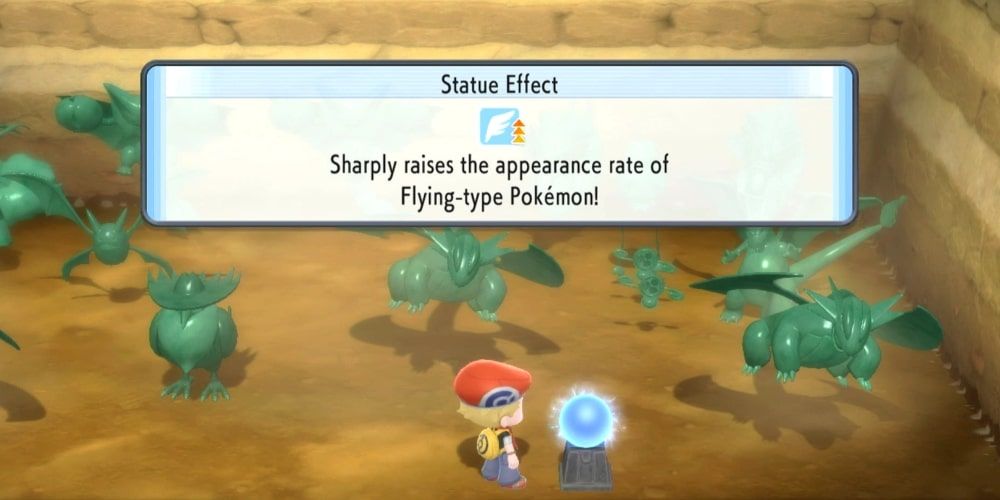
The effect of the values is on encounter rates. Whatever the typing of your highest value total is, your base takes that and uses it to boost encounter rates for that type.
Let's use the flying type as an example. If your highest total is flying, and is between one and about 300, flying encounters will be "slightly raised." Between roughly 300 and 720 will be "raised", and higher than around 720 will "sharply raise" flying encounters.
Getting this highest level won't be easy, but it's doable - shiny final forms can give as high as 120 points, legendaries can be as high as 180, and unevolved shinies and non-shiny final forms are both good for 60 points. The goal, then, is to fill your base with as many high-value statues of a single typing to hit that "sharply raised" total.
But what is the actual effect of this? Well, it's not dissimilar to abilities like Lightning Rod or Harvest. Statue effect can't magically create flying encounters (we're sticking with the flying example here, but this obviously applies to any and all types you're going for) where there otherwise wouldn't be any, but what it can do is drastically increase the rates of existing flying encounters.
This effect also stacks with others when playing online - you get the option to turn on another player's statue effect when visiting their secret base, so you can boost multiple types or coordinate with a friend to give a massive boost to one type you both want to hunt.
This means that if you're hunting a Pokemon found only in the Grand Underground, and it spawns quite infrequently, using the statue effect can be a great way to make finding your target more consistent with each room reset. This is ideal for low encounter rate Pokemon, or the rare spawns.
Rare spawns return from the Let's Go games, and work pretty much identically - a maximum of one can exist at a time, but even that one can just not spawn, meaning you'll do a reset of the room by running in and out, and search the entire area only to not find your target.
Using our electric example, if you wanted to hunt Gligar, a low-spawn-rate encounter in Rocky Caves (so long as you're playing Brilliant Diamond - it's an exclusive), you could fill your base with statues of Zapdos and Ho-oh, shiny Salamence and Crobat statues, and other high-value ice statues like Gliscor and Honchkrow.
This would take Gligar from being a seriously uncommon sight to reliably seeing several of the Pokemon each time you reset the room's spawns, making it a far more tolerable hunt.
This is what makes statues so helpful for hunting, so figure out what you want to hunt in the Grand Underground - Serebii already has a fantastic database of when Pokemon are available (most Grand Underground spawns are gated off by story progression) and the rates at which the encounters spawn. So pick your target, use lightstone time to kit your secret base out with all the best statues, and get hunting!

