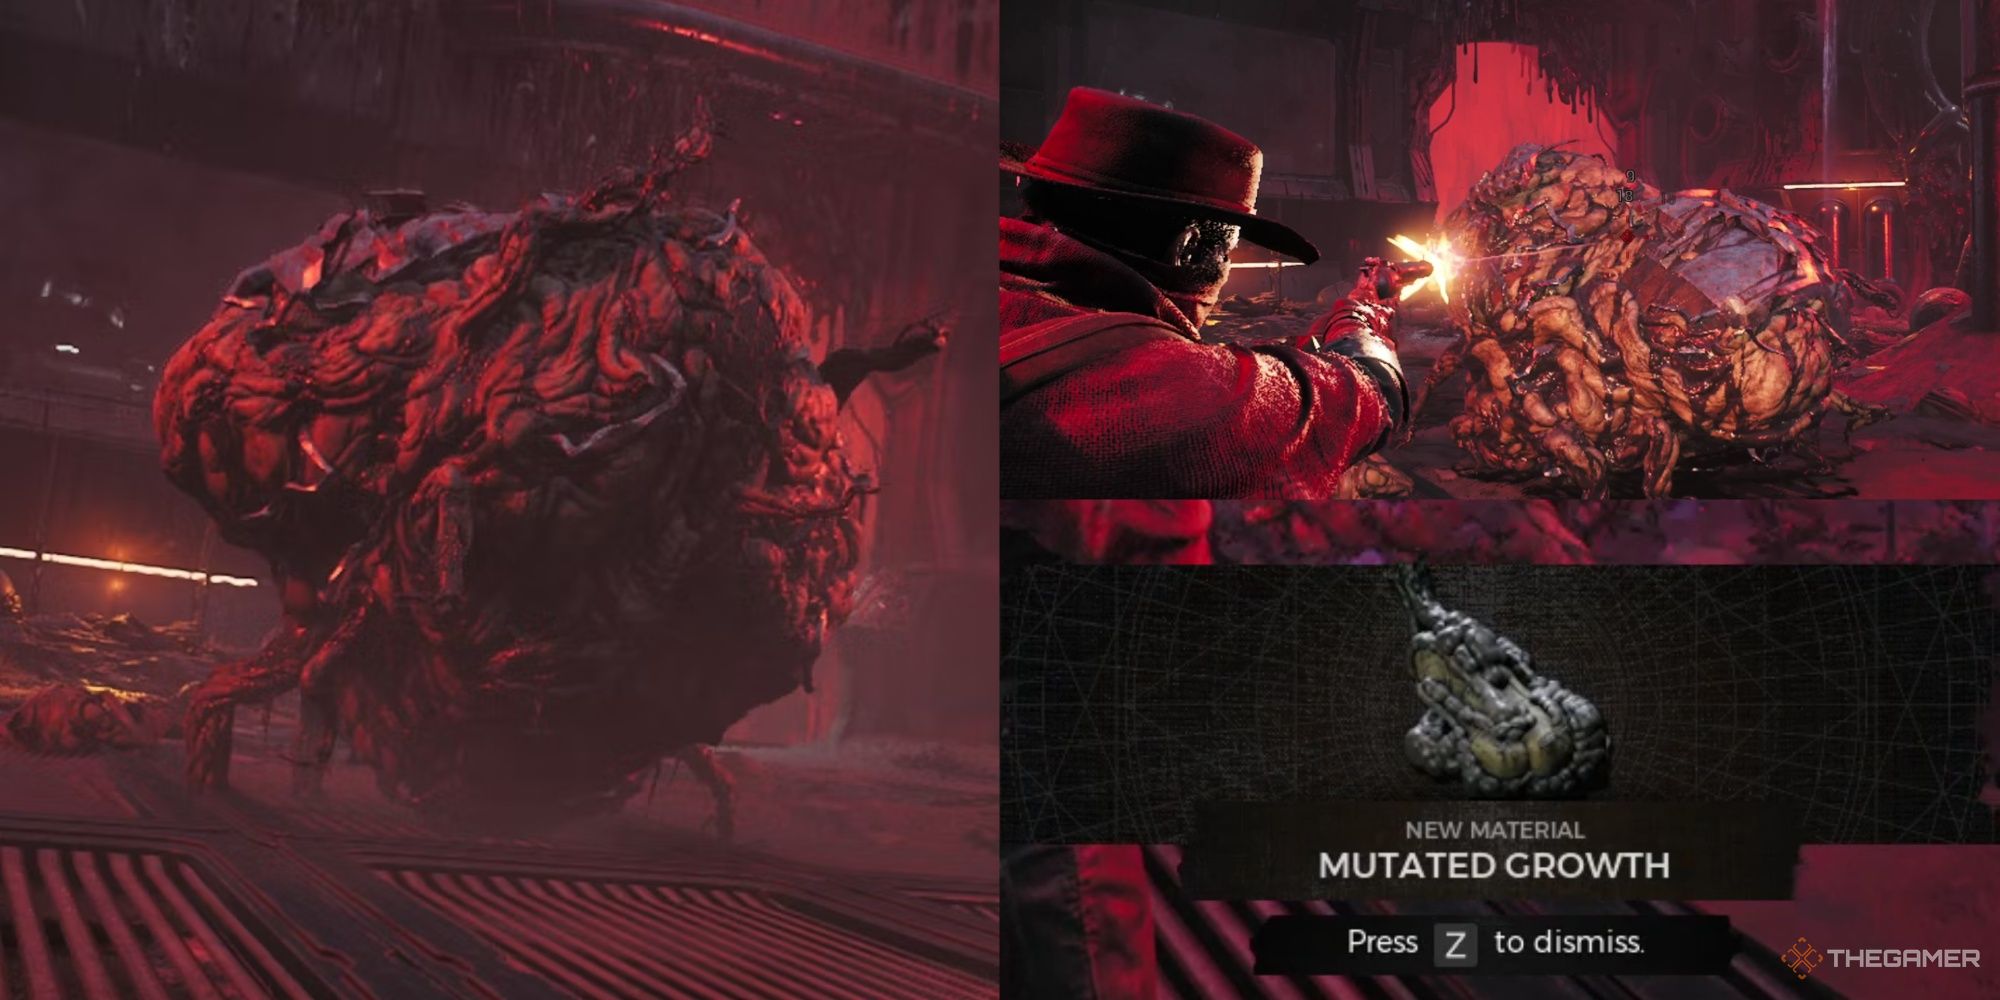
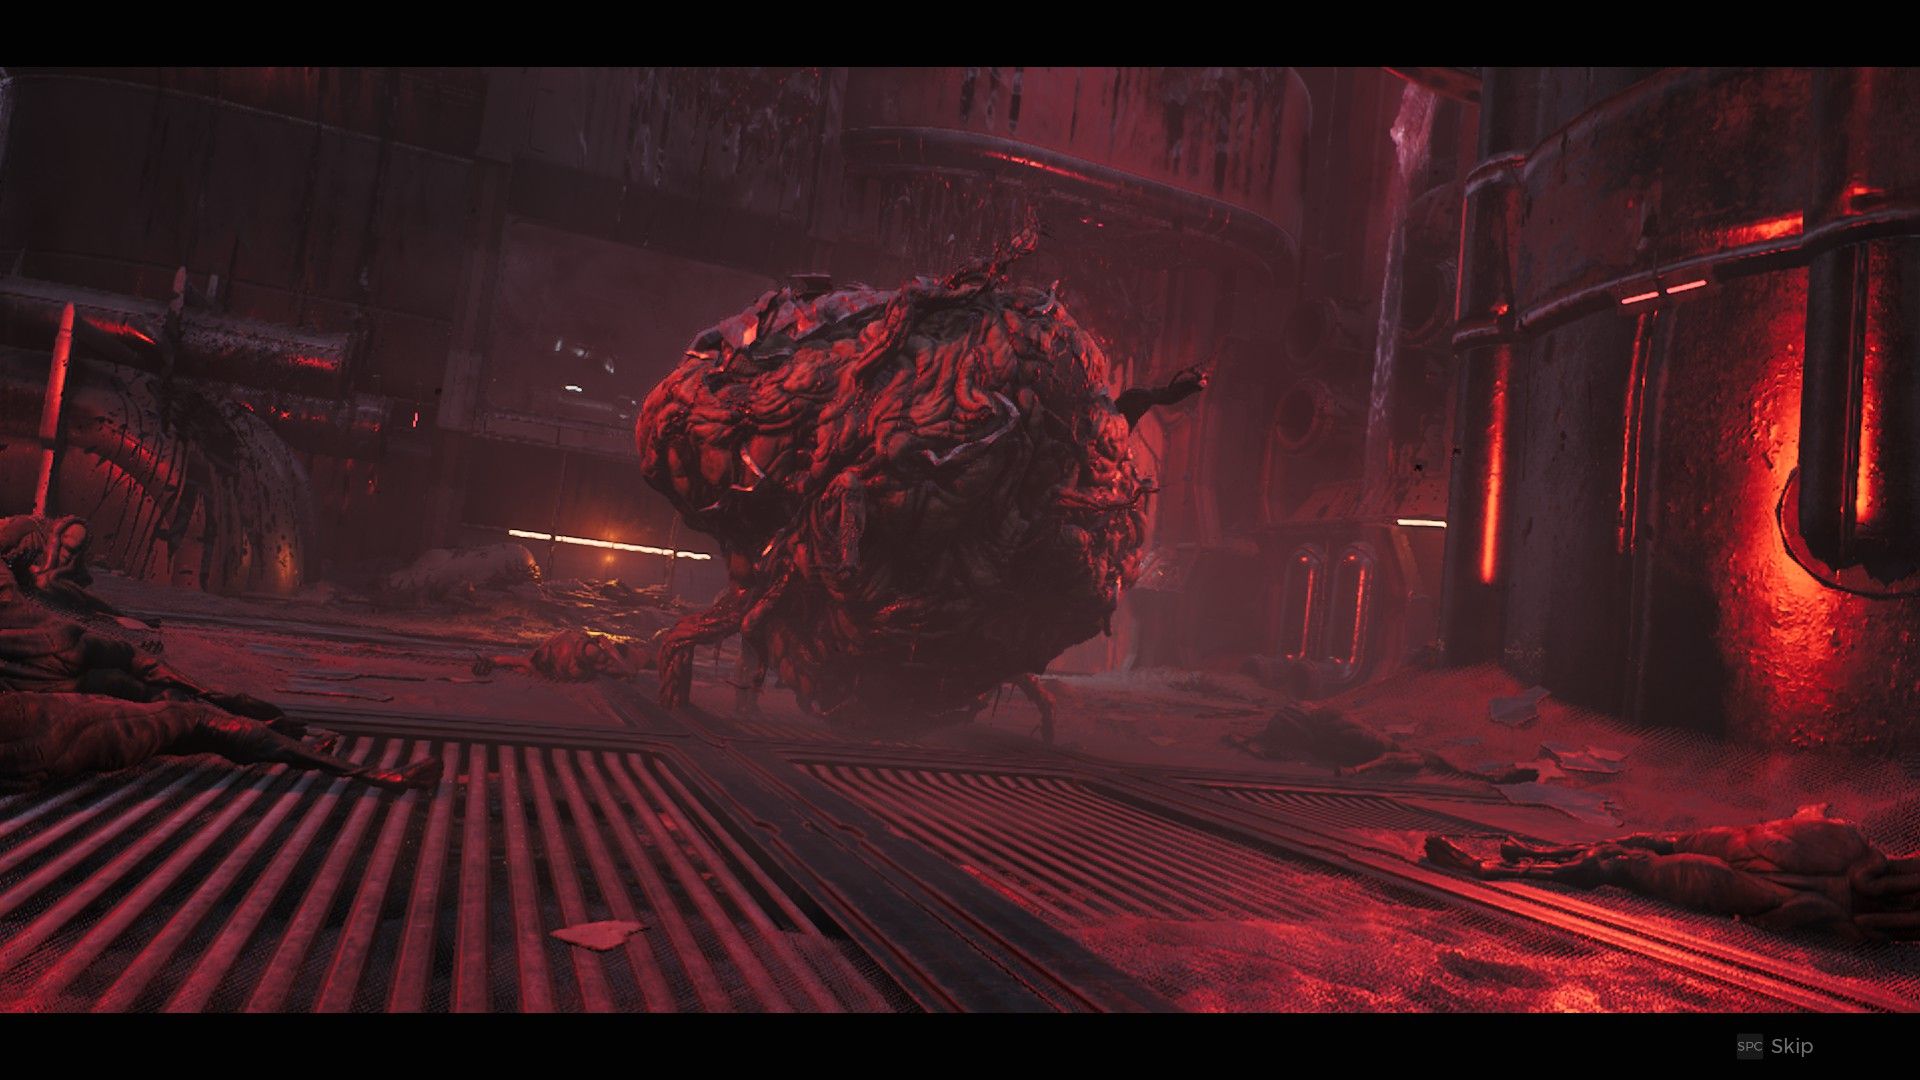
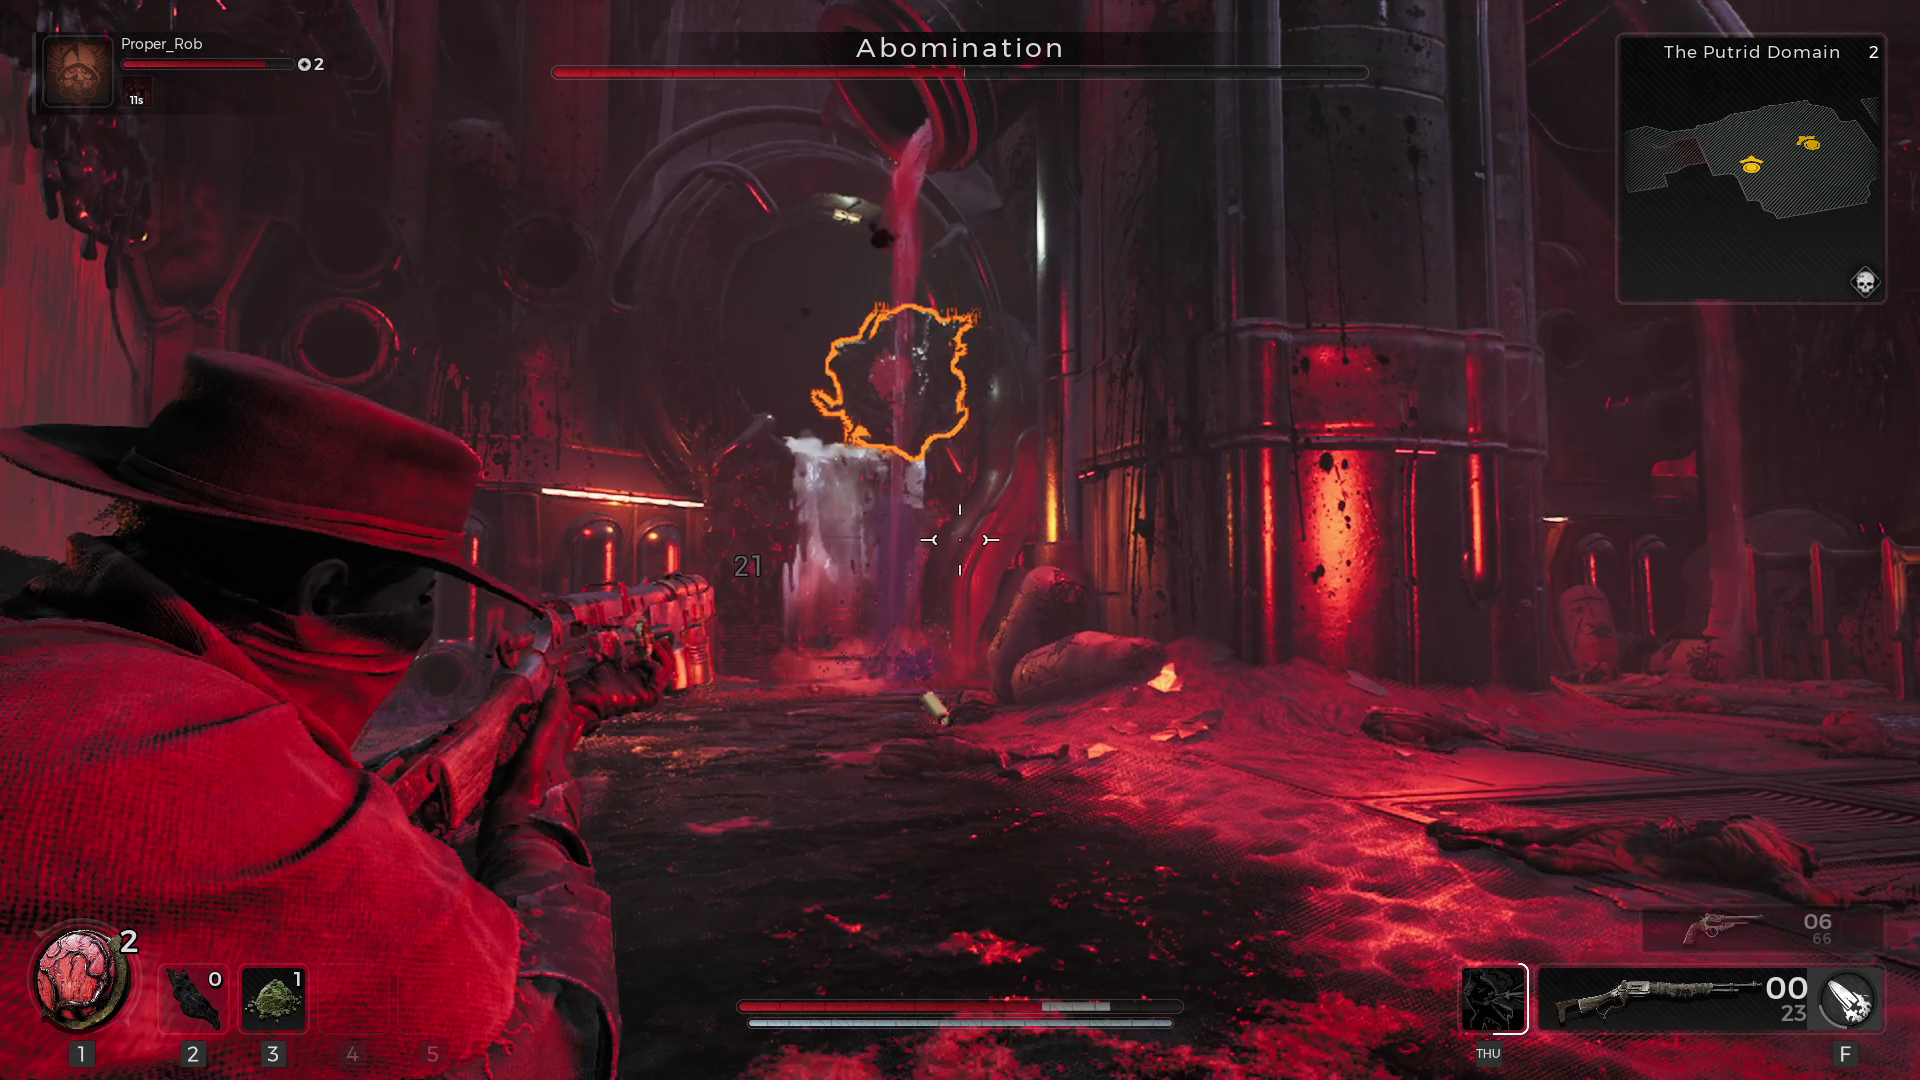
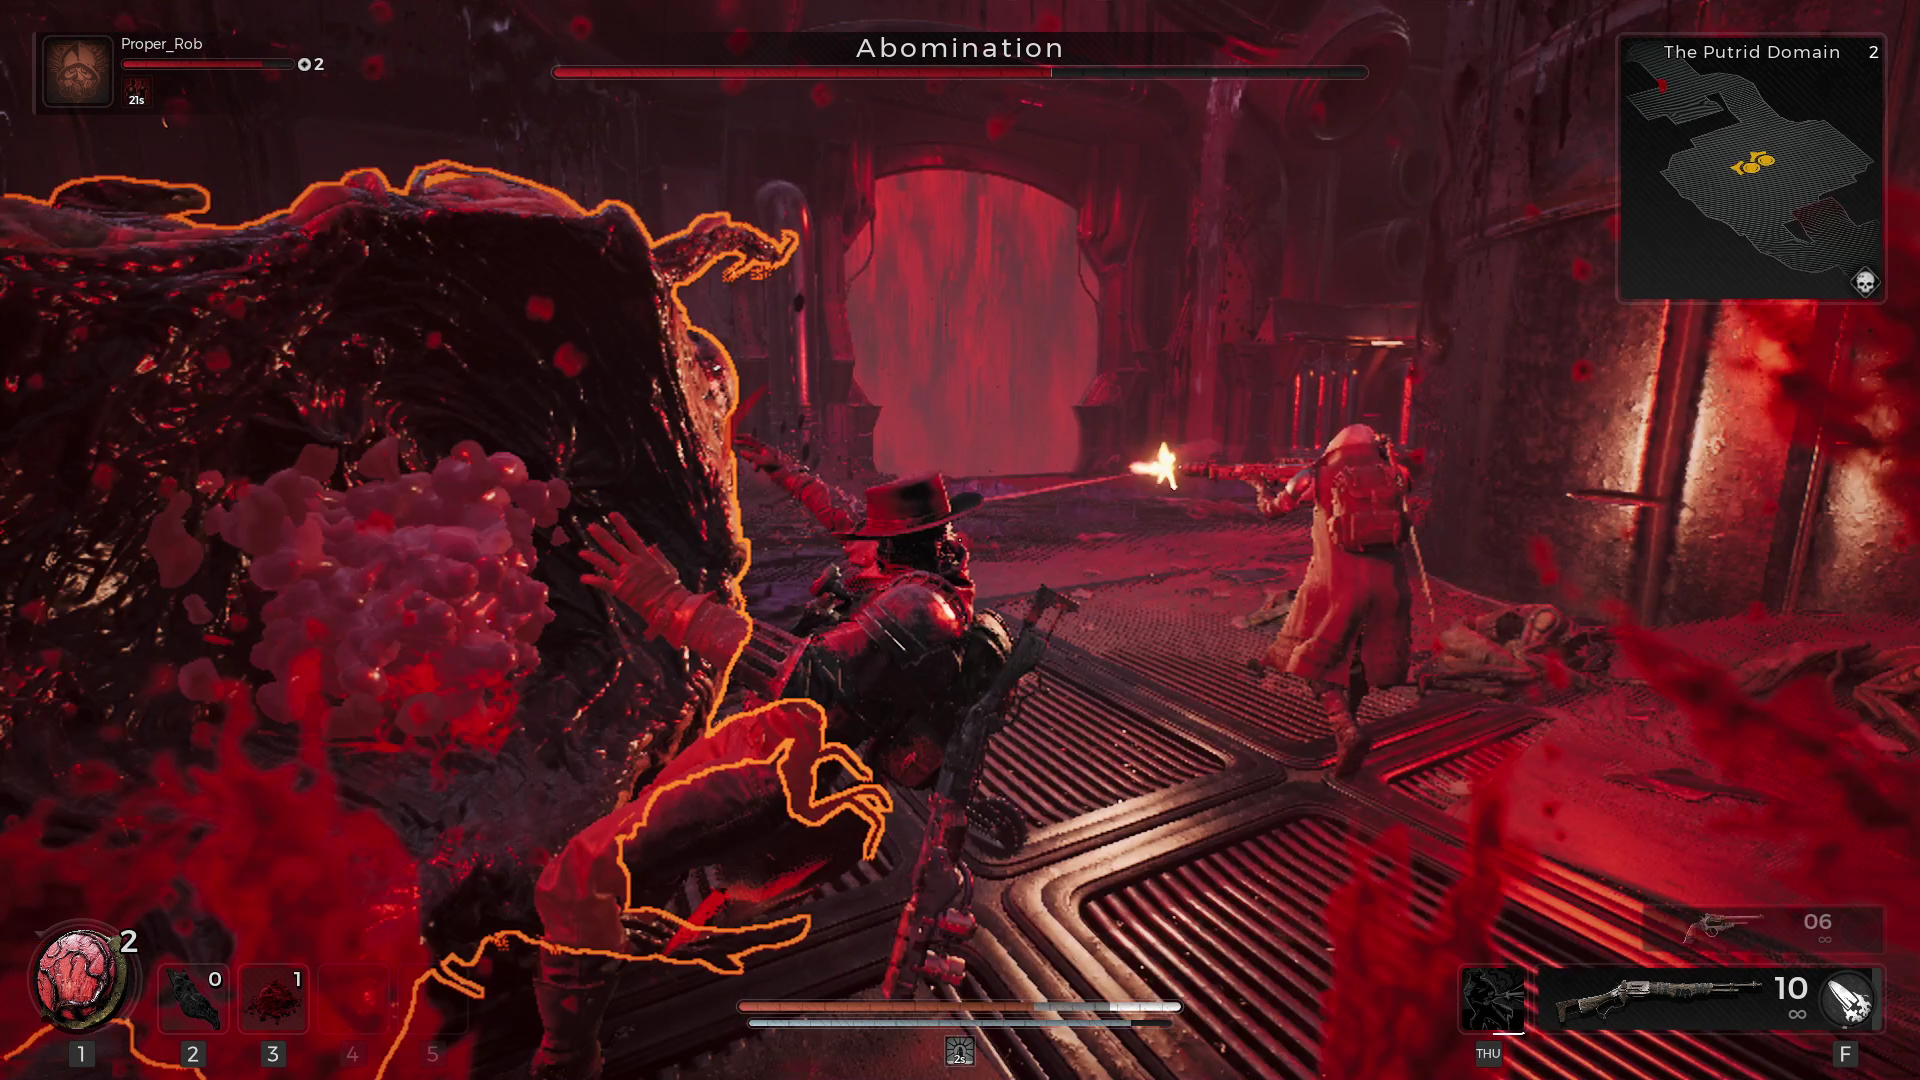
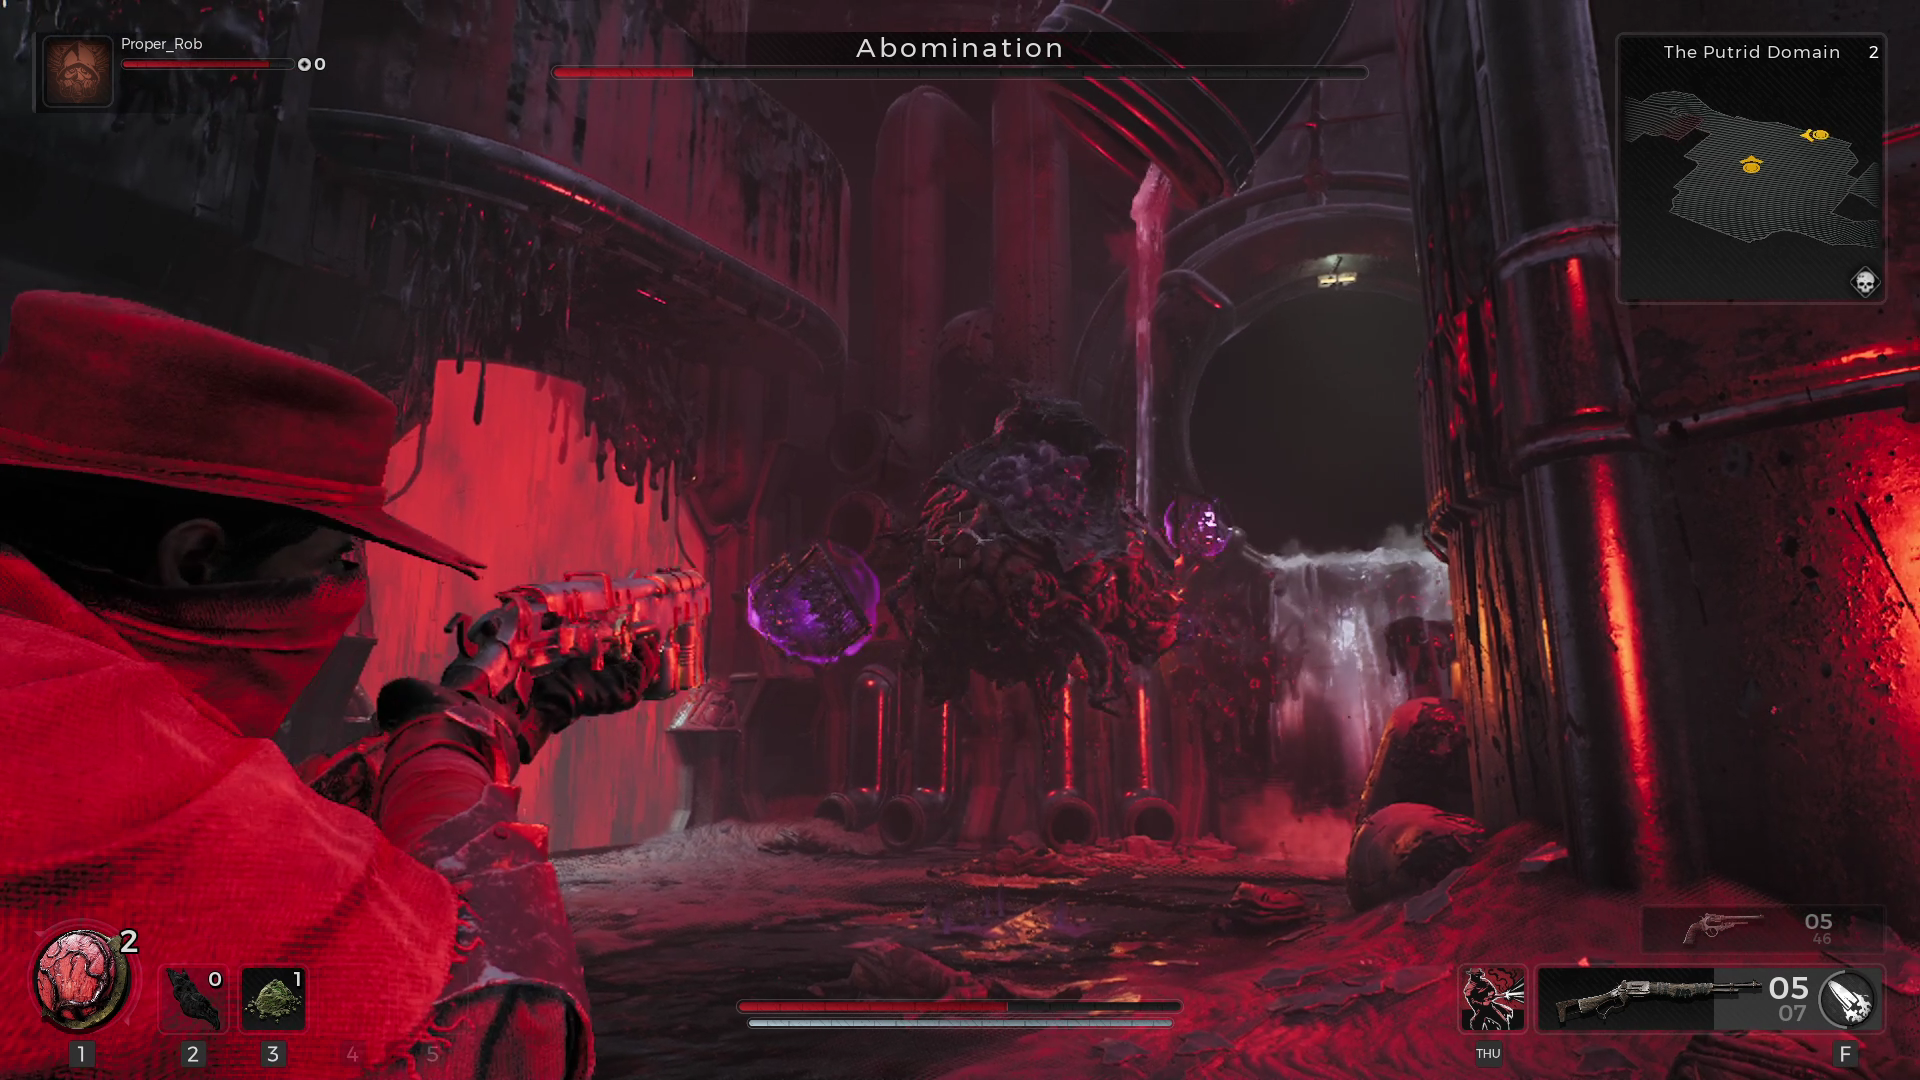
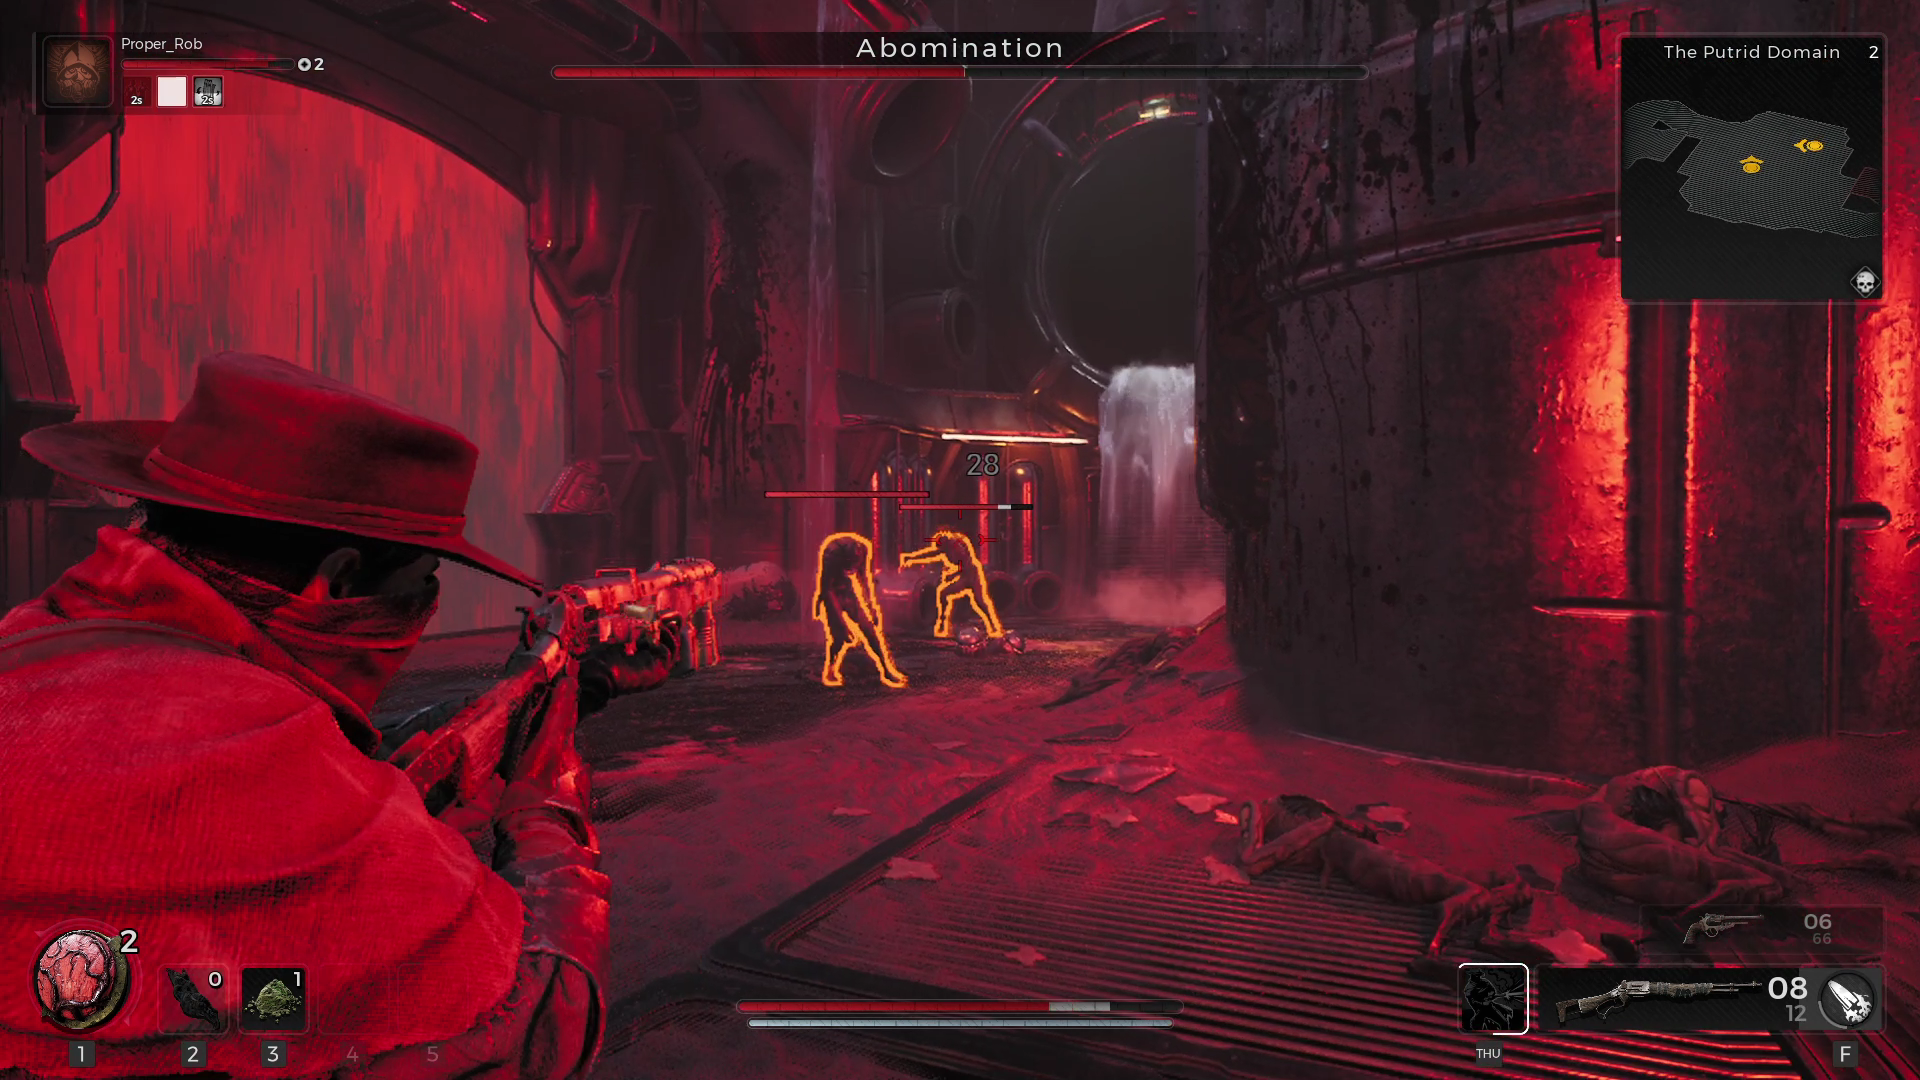
An undulating meatball mixed with machinery, the Abomination boss in Remnant 2 is a pretty straightforward fight that can still cause a few problems, especially if you're unlucky enough to roll N'Erud as your first campaign world.
If you're running solo, this boss can be quite a steamrolling pain in the neck, but with a group, it's not too bad as you can split the aggro and it should fall pretty quickly if you know what to look out for. To help you turn this chunky rolling blob into mincemeat, here's how to beat the Abomination boss in Remnant 2.
How To Find The Abomination
It's pretty easy to run into the Abomination and most players that start in N'Erud will encounter it within the first few minutes of leaving the starting area. This gooey boy is the big boss at the end of the Putrid Domain Dungeon and you'll know you've hit his room when you find the big open space after the rather cramped tunnels of the rest of the dungeon.
You don't need any special item to take him on and all you have to do is just walk into its room. It will drop down from one of the circular pipes in the room and the fight will begin. The reward for tearing apart this Kronenburg monstrosity is pretty good and it also pops up in the next area as a normal enemy type. Which is just a lovely gift from the devs.
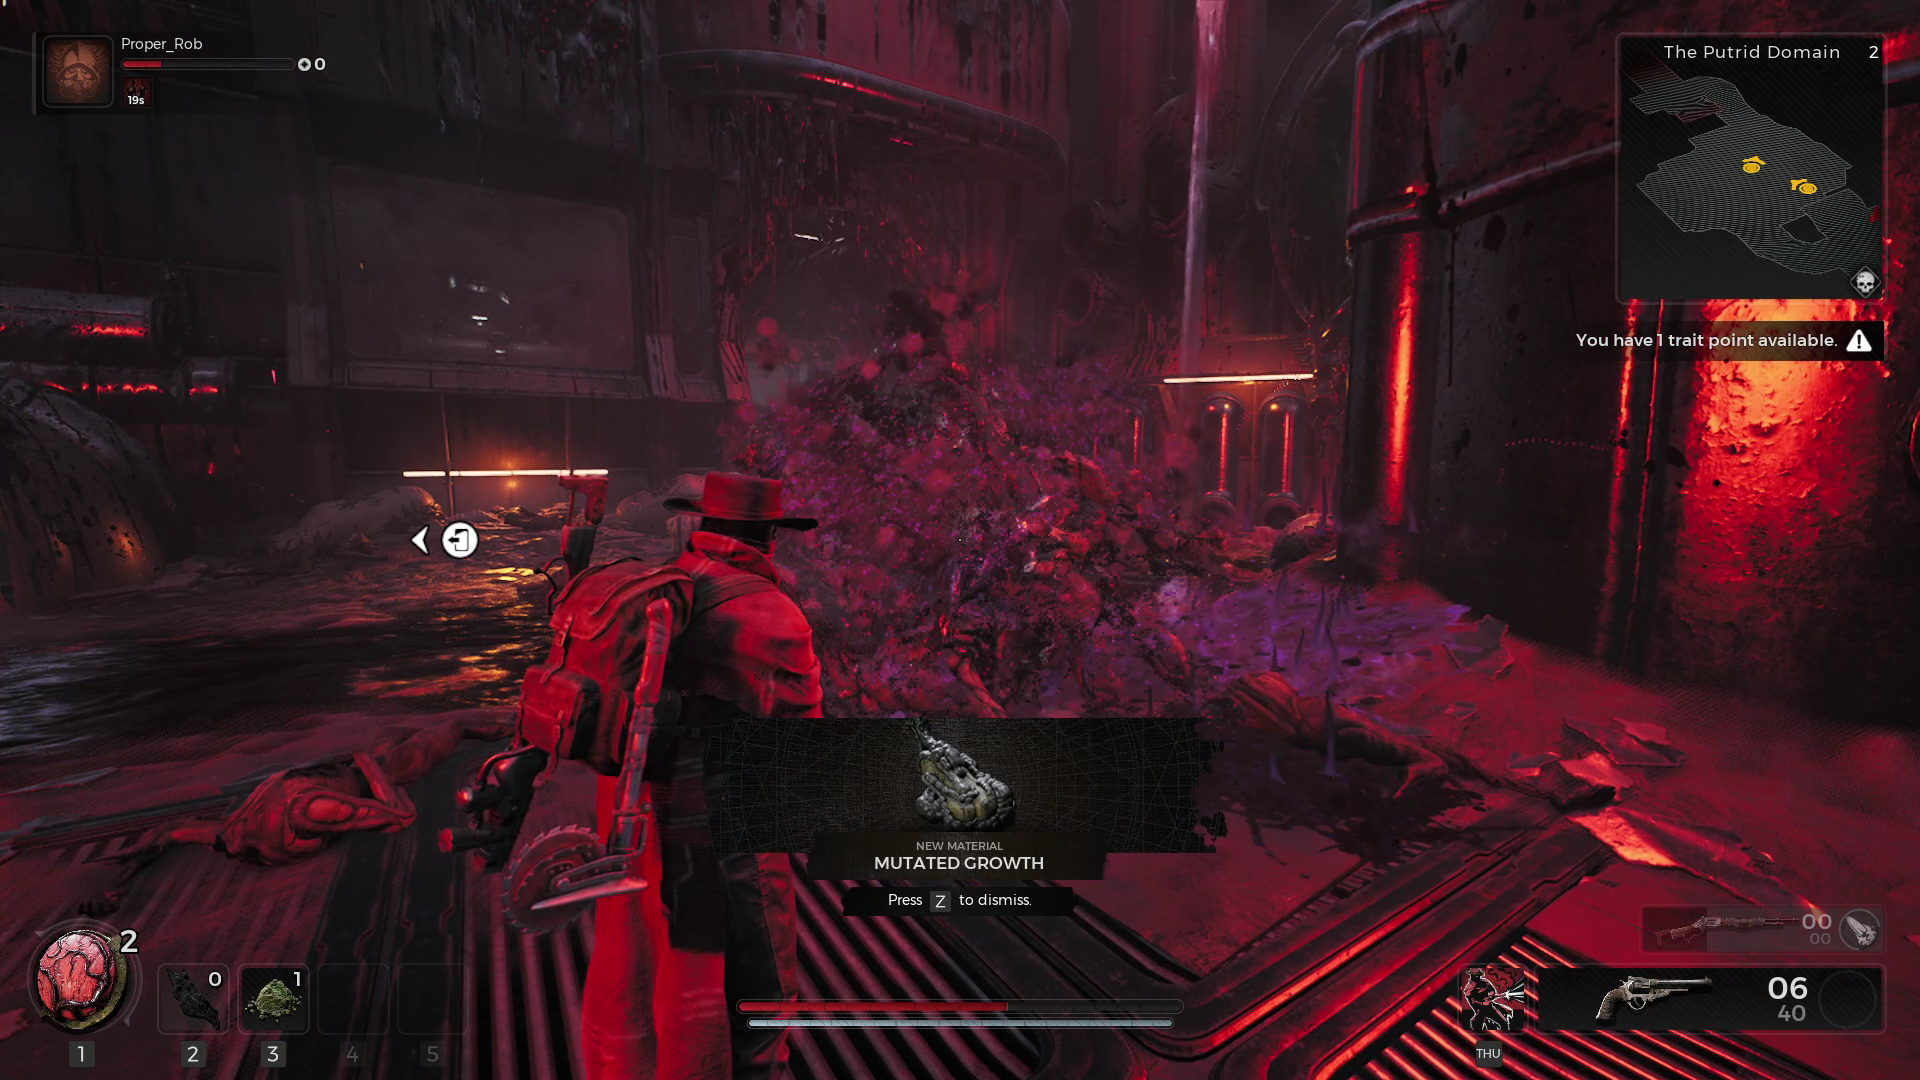
After he's beaten he'll drop a Lumenite Crystal, Scrap, a Tome Of Knowledge, and the Mutated Growth which can be turned into the Bore Weapon Mod. The Bore is pretty useful, when activated it fires a drill-like projectile that bores into a target, deals 80 damage on contact, and then sticks in the enemy. It only stays attached for six seconds, but any shots into this point deal 50 percent extra Weak Spot Damage, or if stuck onto an existing Weak Spot, like a head, it buffs Ranged Crit Chance by 15 percent.
How To Beat The Abomination
If this is your first boss encounter or you're tackling him for the first time after arriving in N'Erud then you may notice something. The health bar of the Abomination is quite large and he is incredibly spongy to damage. That is unless you know where his weak points are.
As this gelatinous blob rolls around at the speed of sound, you'll notice that placed amongst his organic mass are some inorganic metallic parts. There are large plates and what resemble explosive canisters lodged in select parts on his body and shooting at these should be your priority.
After a decent amount of hits, these parts will detonate, blowing a huge bloody chunk out of the boss, staggering him for a few seconds, and opening up his weak core. When this happens, dump as much damage as you possibly can into these spots. You'll know you've hit them if you see big numbers pop off.
There are also explosive canisters around the arena wedged in the ground and the boss will toss out explosive canisters when it gets close and flails its limbs. So there are plenty of things that go boom that you can use.
After a brief period, the blob ball will retreat back into the pipes above your head to essentially reset and heal a little bit. After he drops back in the plates will be back and you'll have to start the process again until he dies. It's pretty simple, but it's his attacks and minions that are going to cause a bit of grief.
The Abominations Attacks
Now that we've covered what to do, it's worth running through this beast's attack patterns as they're not too difficult to deal with, but they can be annoying. First off the biggest threat is the telekinetic throw of his. It's identified by him teleporting into the air and when it does the boss will levitate nearby objects to toss at you.
These can either be shot to destroy them or evade rolled through, though you're better off using the two pillars in the room to block them. Mainly because you'll usually be unable to do enough damage to them to break them before they're tossed at you.
The other big move to avoid is the body slam. He'll jump high into the air and then slam down with a pretty nasty AOE on the hit. When he goes up, just run in the opposite direction.
Finally, the Abomination will charge around his gooey arena like a squishy, gore-covered wrecking ball. It's in one fixed direction so it can be dodged, but the charges link into each other pretty quickly. So if you're not watching where he goes, he could rumble right into your back.
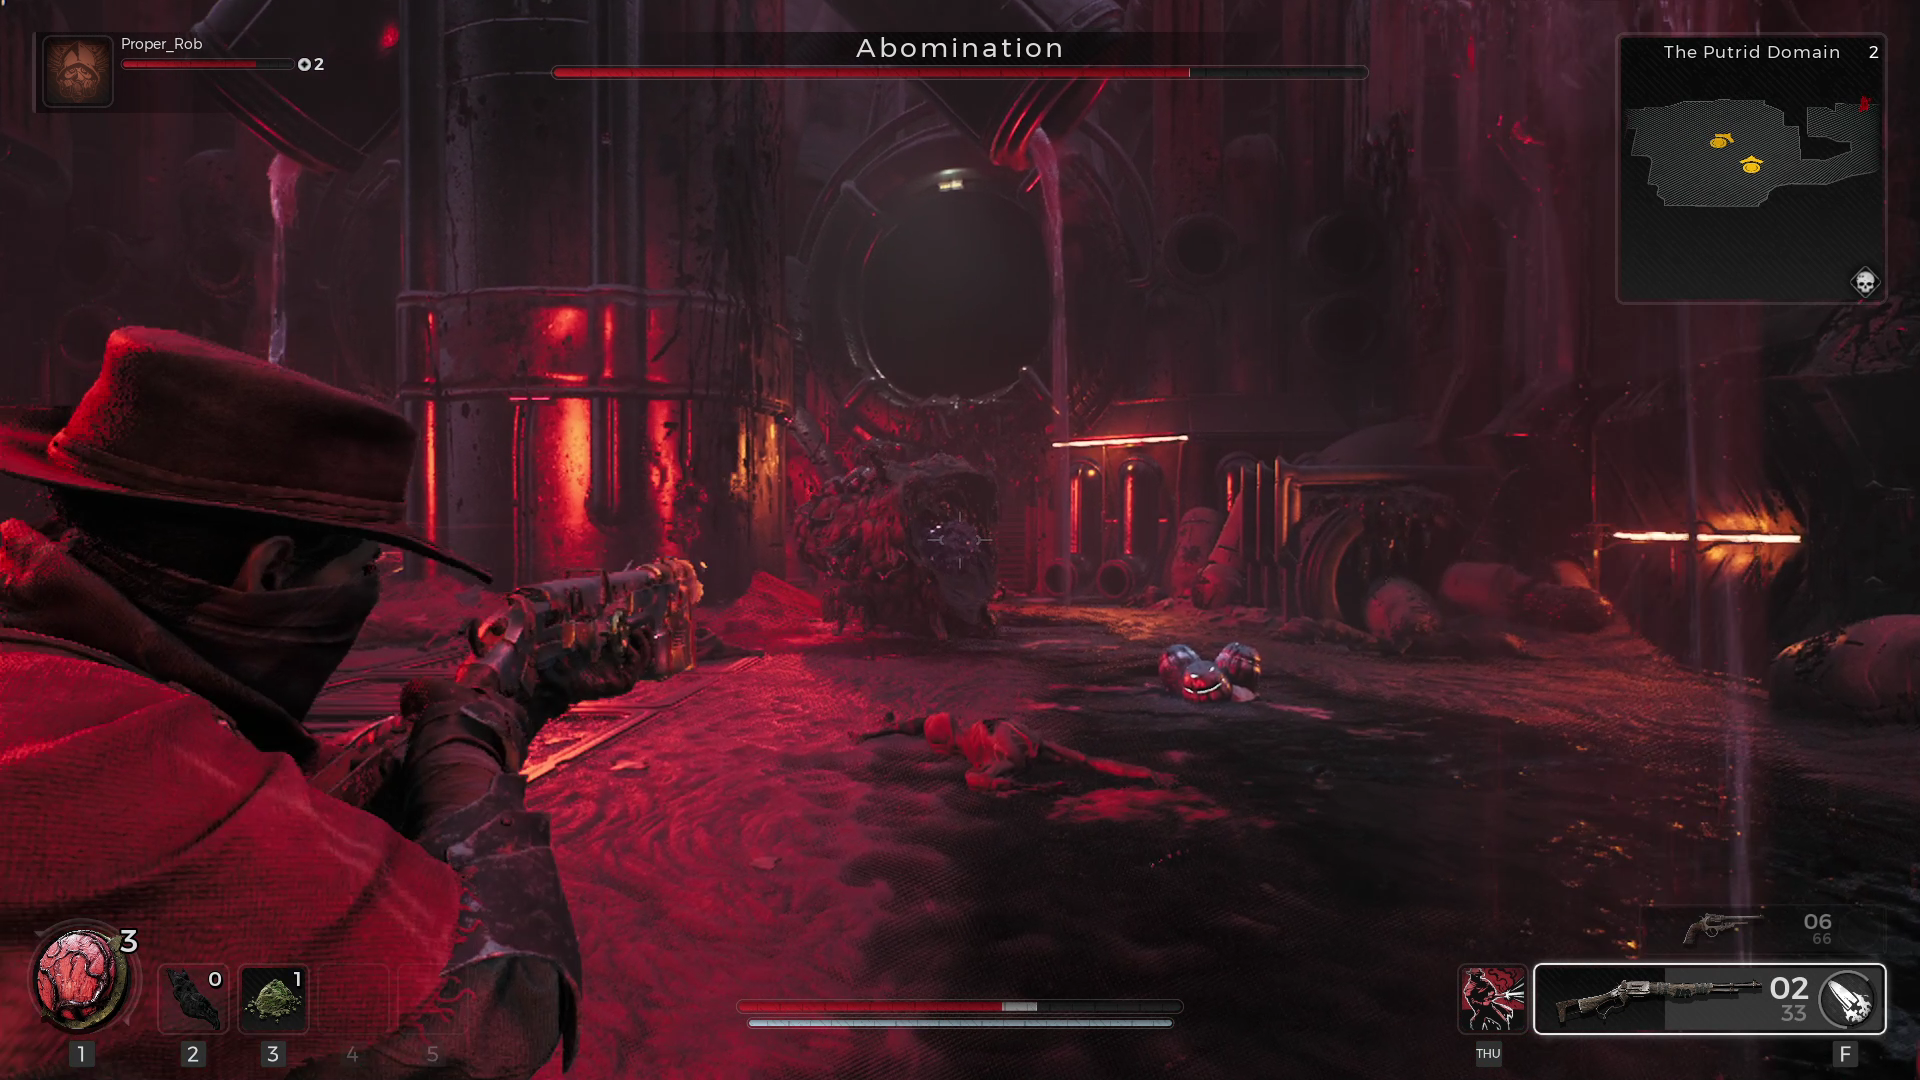
At around half health, the Abomination will start bringing in Minions. They're pretty weak and can drop ammo, take them out with headshots, and then focus back on the boss.
To help you remember all this, here's a brief rundown;
Attack | Description |
|---|---|
Telekinetic Throw | Abomination raises into the air, pulling objects close to it before tossing them at one particular target. |
Body Slam | Abomination jumps into the air and then slams back down onto the ground a few seconds later. |
Rolling Charge | Abomination rolls in one direction with a charge that inflicts knockdown. Can chain multiple times in different directions. |

