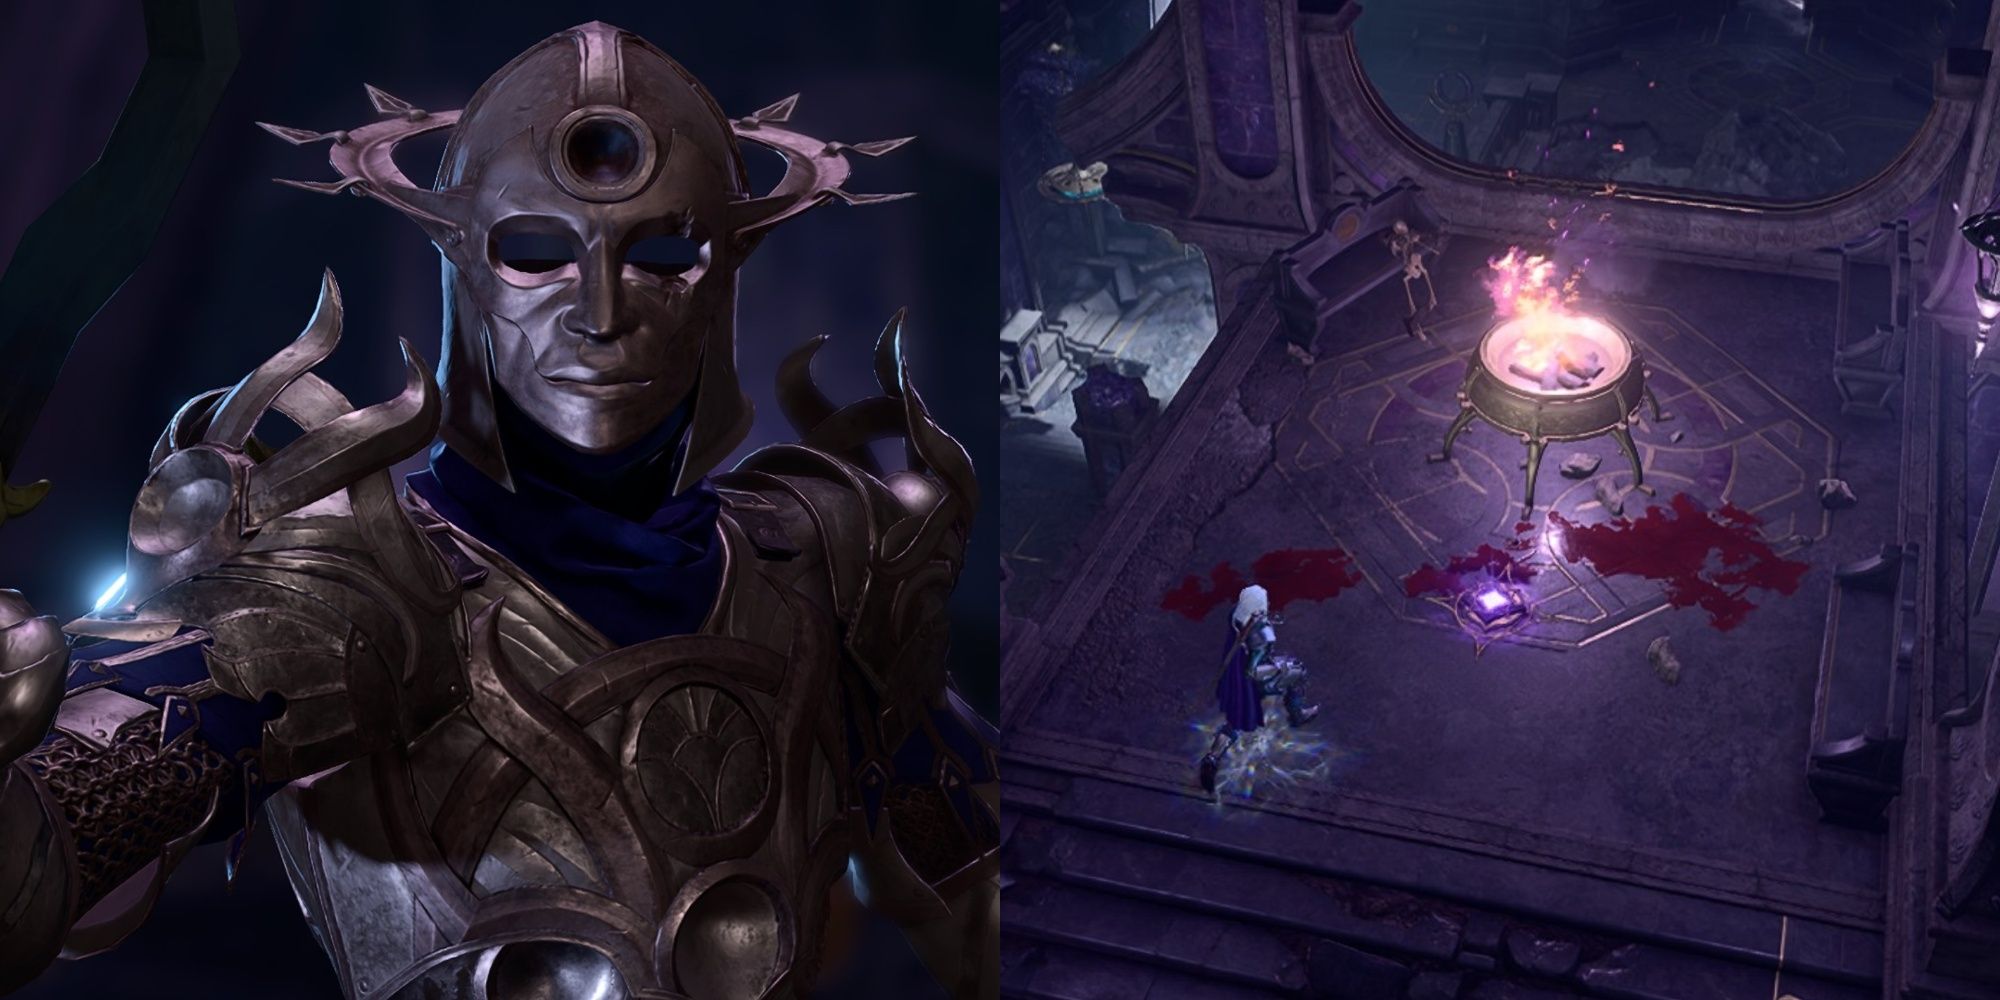
In the second trial of the Gauntlet of Shar in Baldur's Gate 3, you'll be thankful for a little normalcy breaking up the sometimes infuriating skill checks of its preceding and following trials. The task on the agenda? Good old tried and true combat.
But in the spirit of Shar, there has to be a little twist to the equation. You've fought enemies big and small, strong and weak, but have you ever thought about what a fight with yourself would be like? Could there be anything more terrifying to face in battle than your very own visage?
Self-Same Trial Explanation
The Self-Same Trial is one of those trials that can be punishing to a well-put-together team. While the premise is simple - defeat all enemies, your enemies will be a copied clone of your current party.
For example, in this scenario, a team consists of:
- A drow player (Life Cleric)
- Astarion (Rogue Assassin)
- Lae'zel (Fighter Battlemaster)
- Shadowheart (Trickster Cleric)
There are four enemies, copying this exact team. In the example, you'd need to kill Astarion, Lae'zel, Shadowheart, and the player's copies. Additionally, all spells, feats, and equipment are also copied.
It is recommended to consider changing your armor if you wear items like Adamantine Armor or specific catastrophic spells or weapons you would not otherwise wish to fight before beginning the trial.
Self-Same Trial Strategy
When you are ready, interact with the Shar offering bowl to begin. Your clones will then be summoned.
As the fight begins, toggle the Group Hide setting and split your party. The enemies will always be in the same positions and hiding:
- One on the left side stairs
- One on the right side stairs
- Two on the upper stairs section
Choose two party members to walk around stealthily on the far right side. Split them again to have one party member hiding in position behind the enemy clone on the right side stairs.
You do not need to have your party members fight their exact clone. Any member can kill any clone.
If you have a rogue, they work especially well here. An assassin can typically destroy their own clone in a single turn if they are the one to start combat.
Your remaining two party members must be in position in the front, ready to storm the stairs for the two clones up top. If these remaining members have Misty Step or a Jump-related spell or ability, all the better.
When you are ready, choose one of the members on the left or right to strike and begin the fight.
Storm the stairs when combat has begun with your remaining party members (who likely were not included in the first initiative). Leave one member with the first enemy on the stairs and send your last member to deal with the enemy at the top.
With each battle a 1v1, wrap up fights as quickly as possible and then send your victorious fighters to aid other party members still fighting.
After every clone has been defeated, you can pick up the Umbral Gem at the top of the stairs the final clone had been guarding. With it in your hand, you can now leave and continue on to the Faith-Leap Trial.


